As some of you may know, we’re going on vacation to Iceland coming up here soon. As part of my (over) preparation, I decided to upgrade and add to my filter collection. As an aside I’ve made quite a few accessories for the trip, some of which I have already teased which includes some circular and rectangular filter cases which I’m rather fond of.
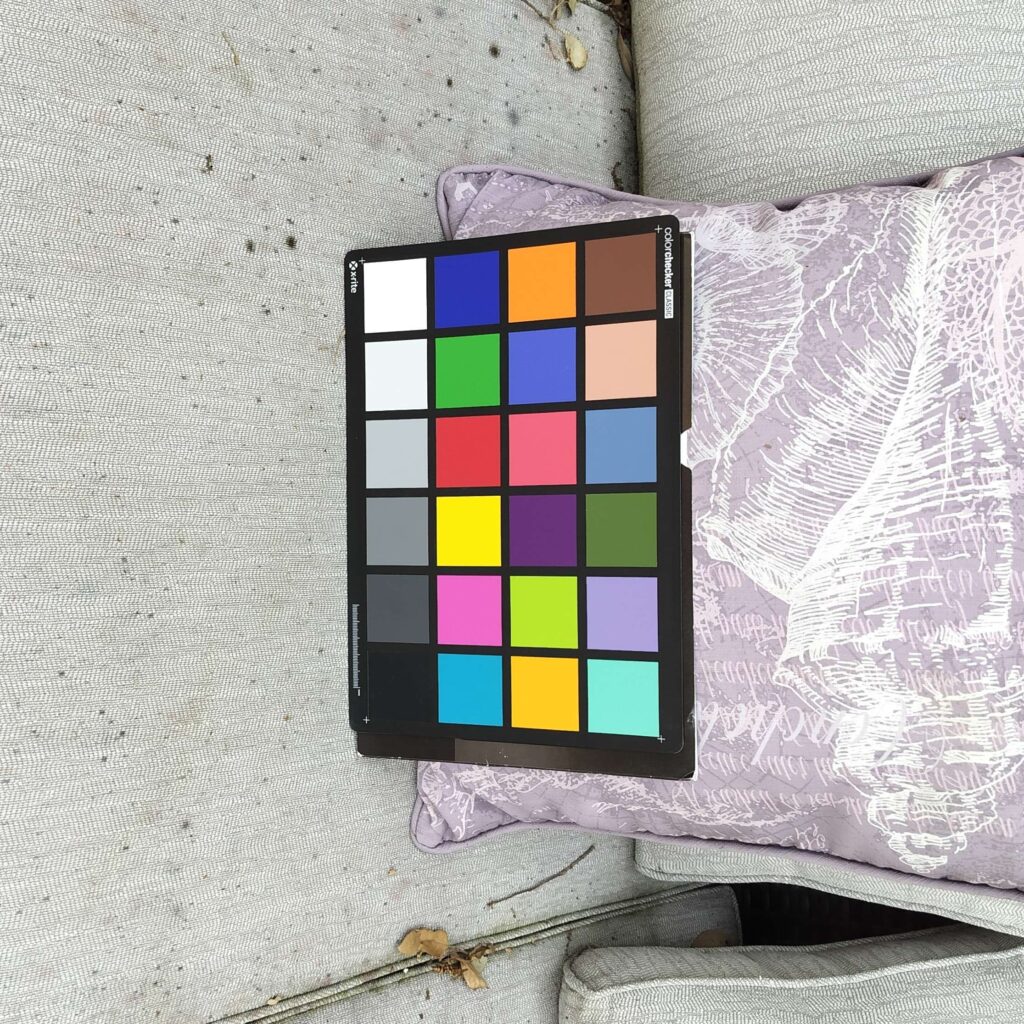
Anyways! Among the filters I decided to pick up were Hoya X0 (light green) and X1 (green) filters. I’ve never used green filters but it seemed like something worth trying going to a country with lots of green things. My main black and white film will be T-Max 100 so I decided to use one of my recently expired rolls of TMX in 120. This also let me test a new film back for my Hasselblad while doing so. The test was simply taking photos of my color chart on our outdoor seat during the mid afternoon on a cloudy day. I metered on the middle grey patch of the color chart which matched the incident reading as well. Here are the results:
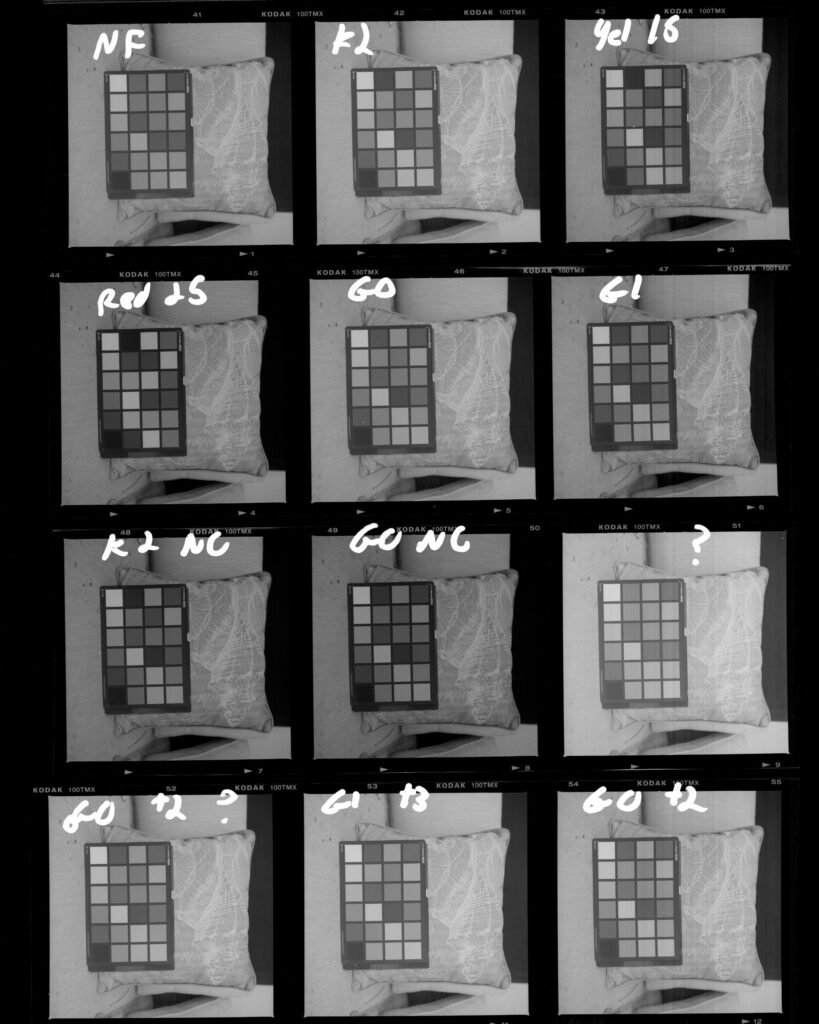
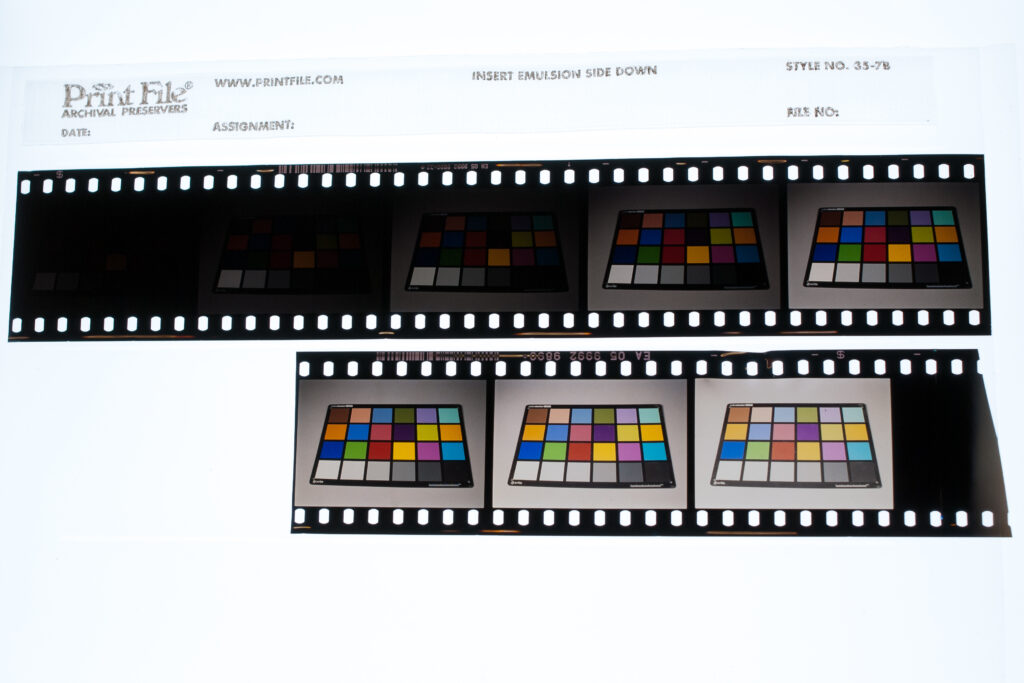
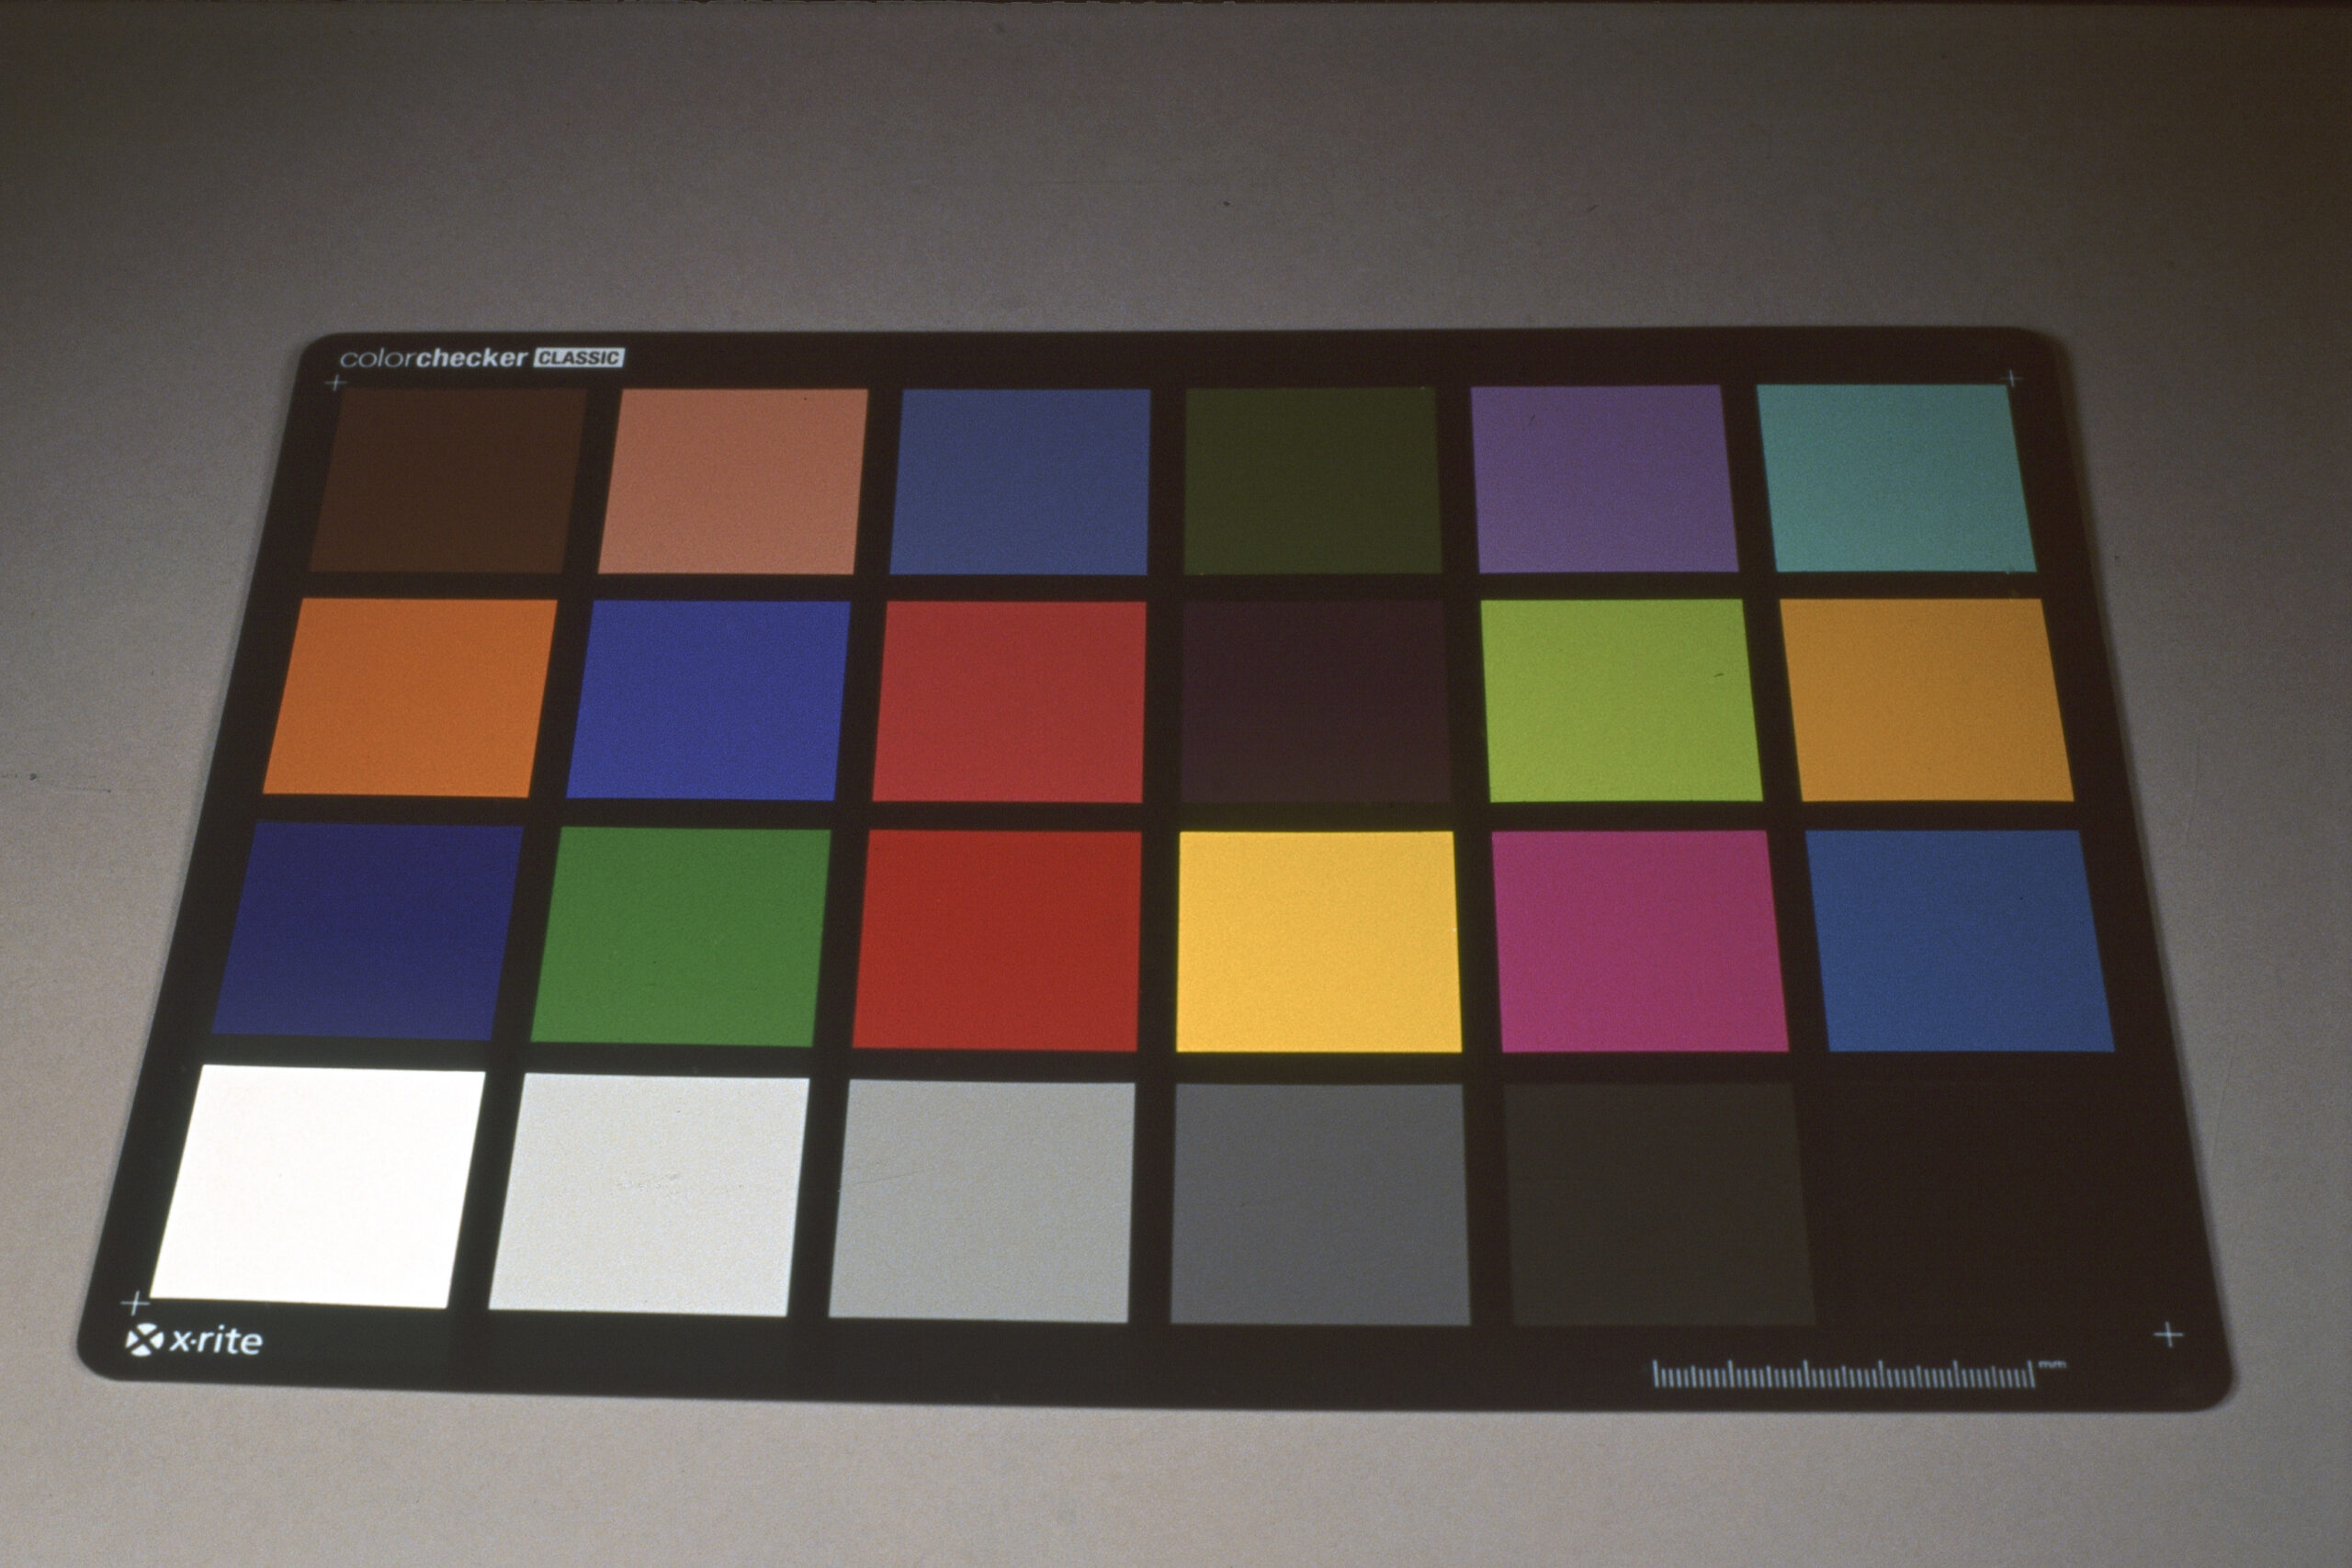
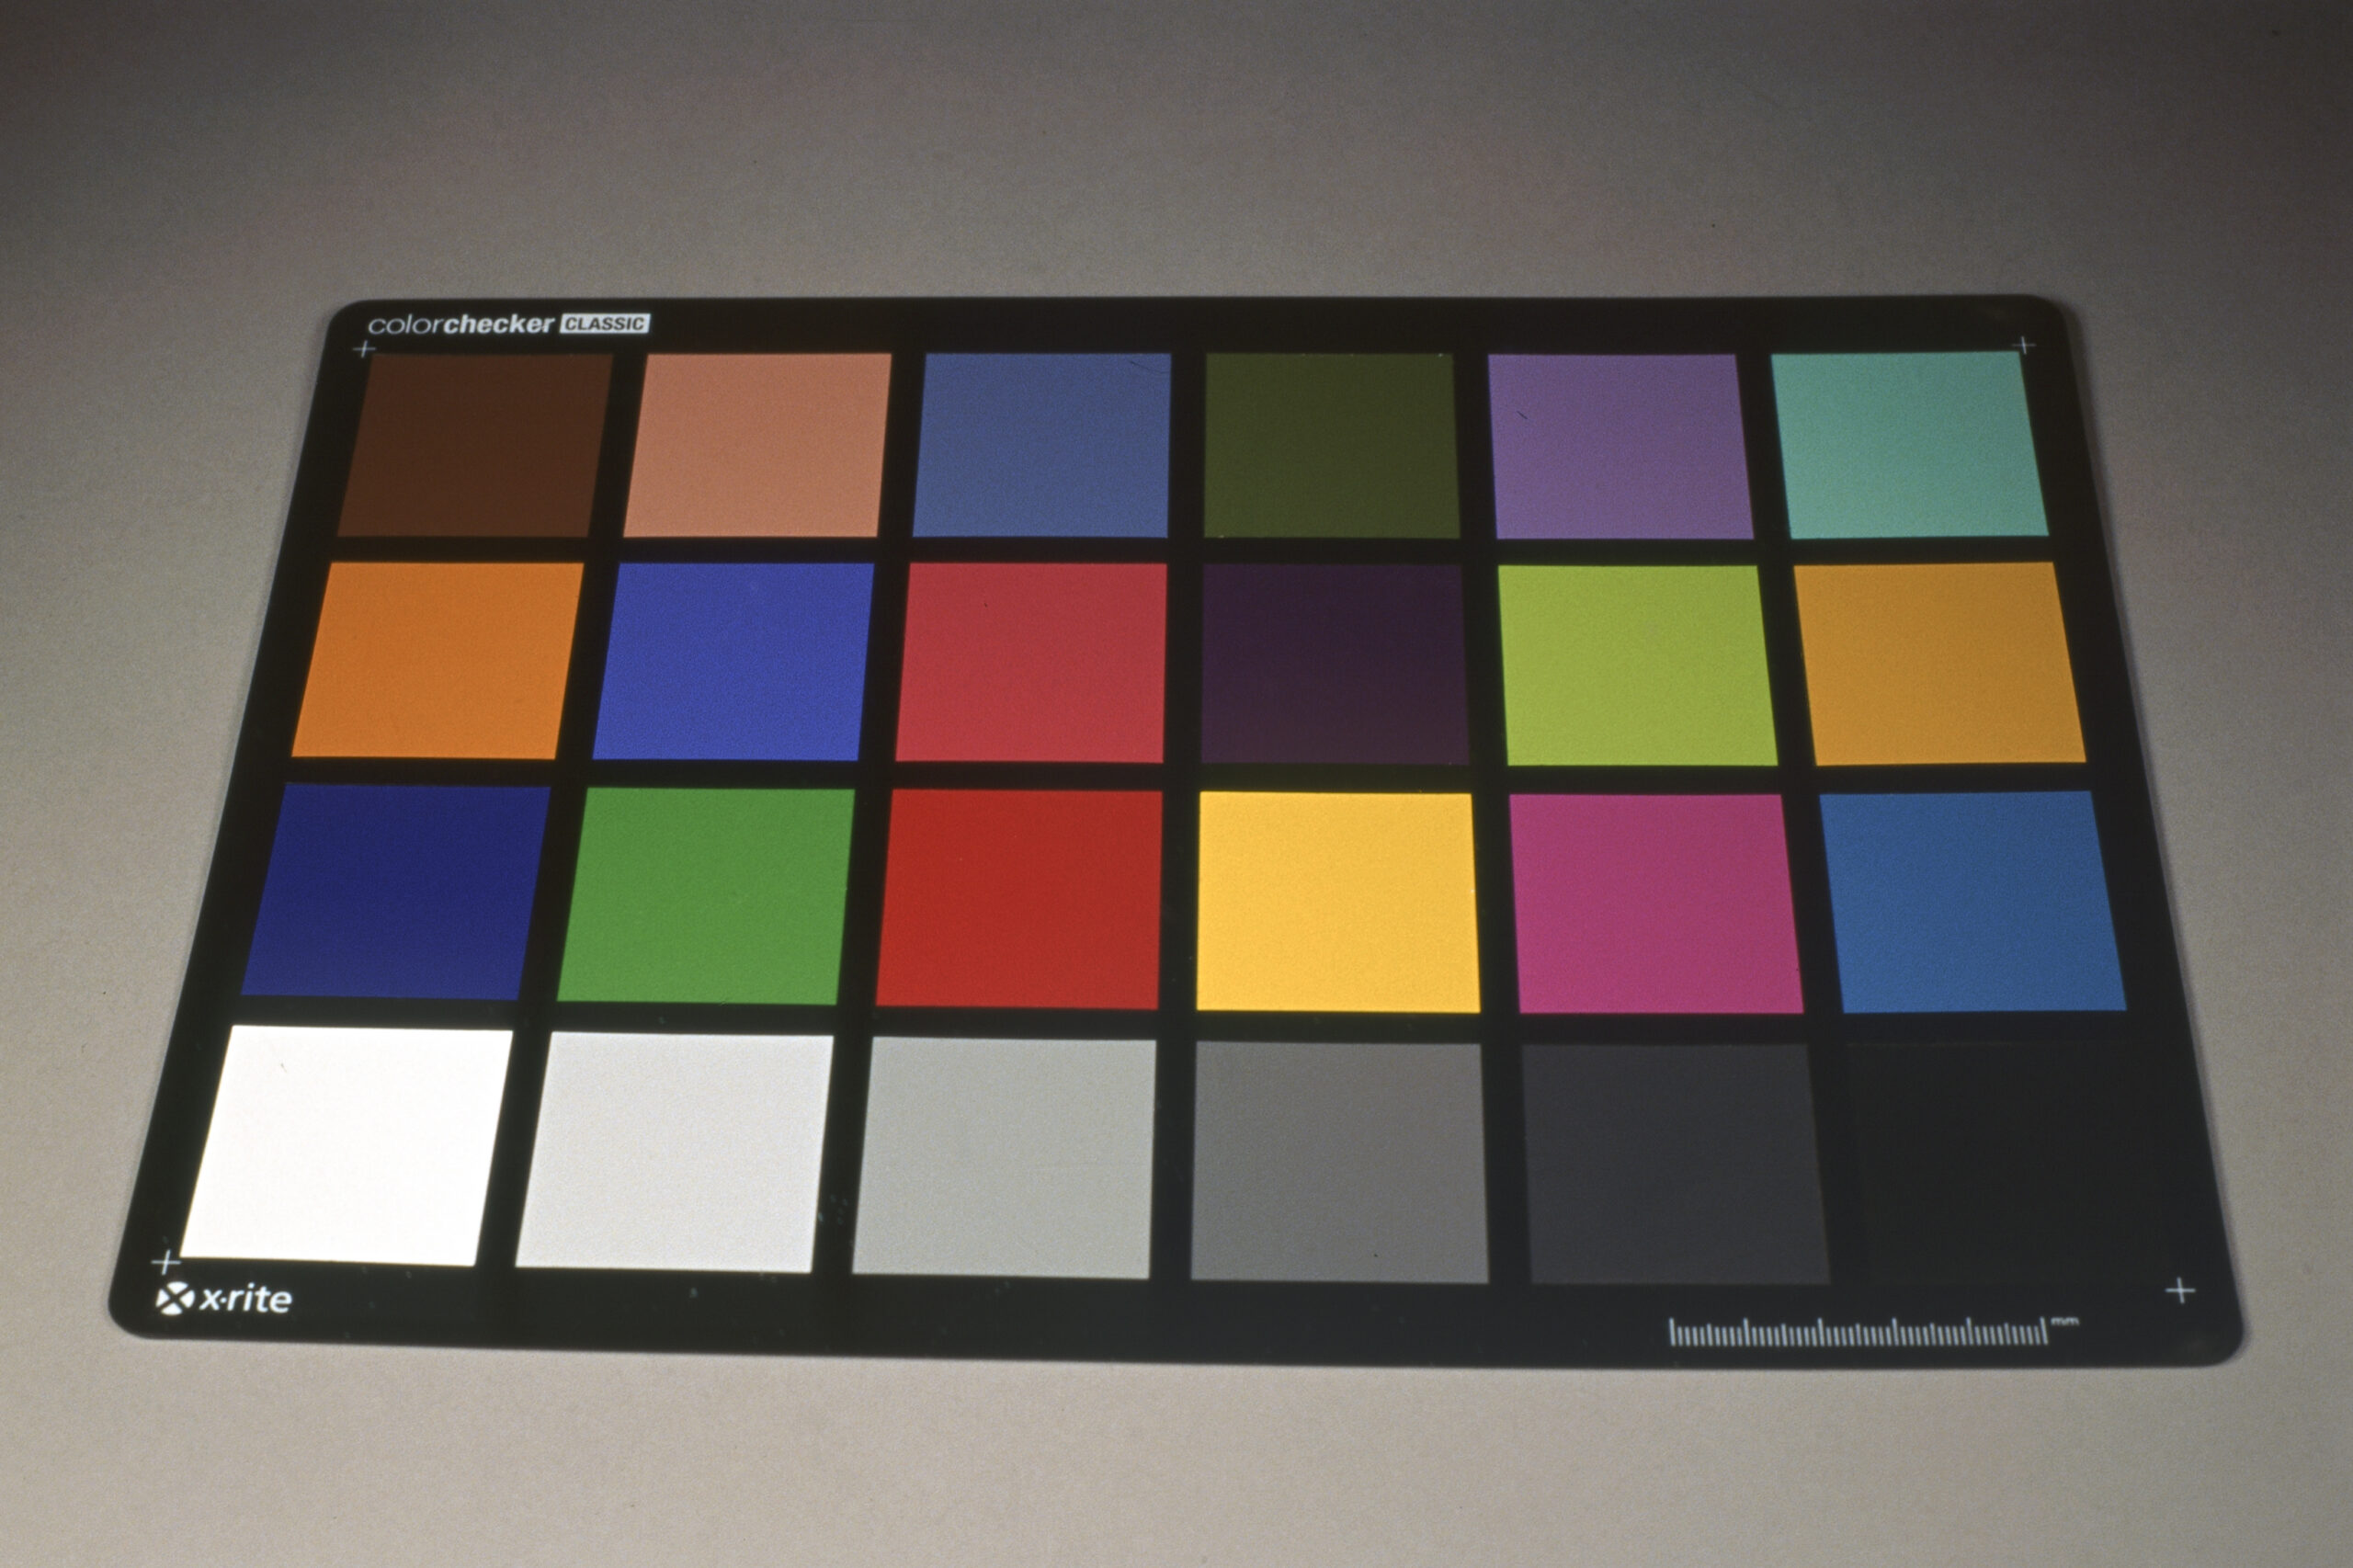
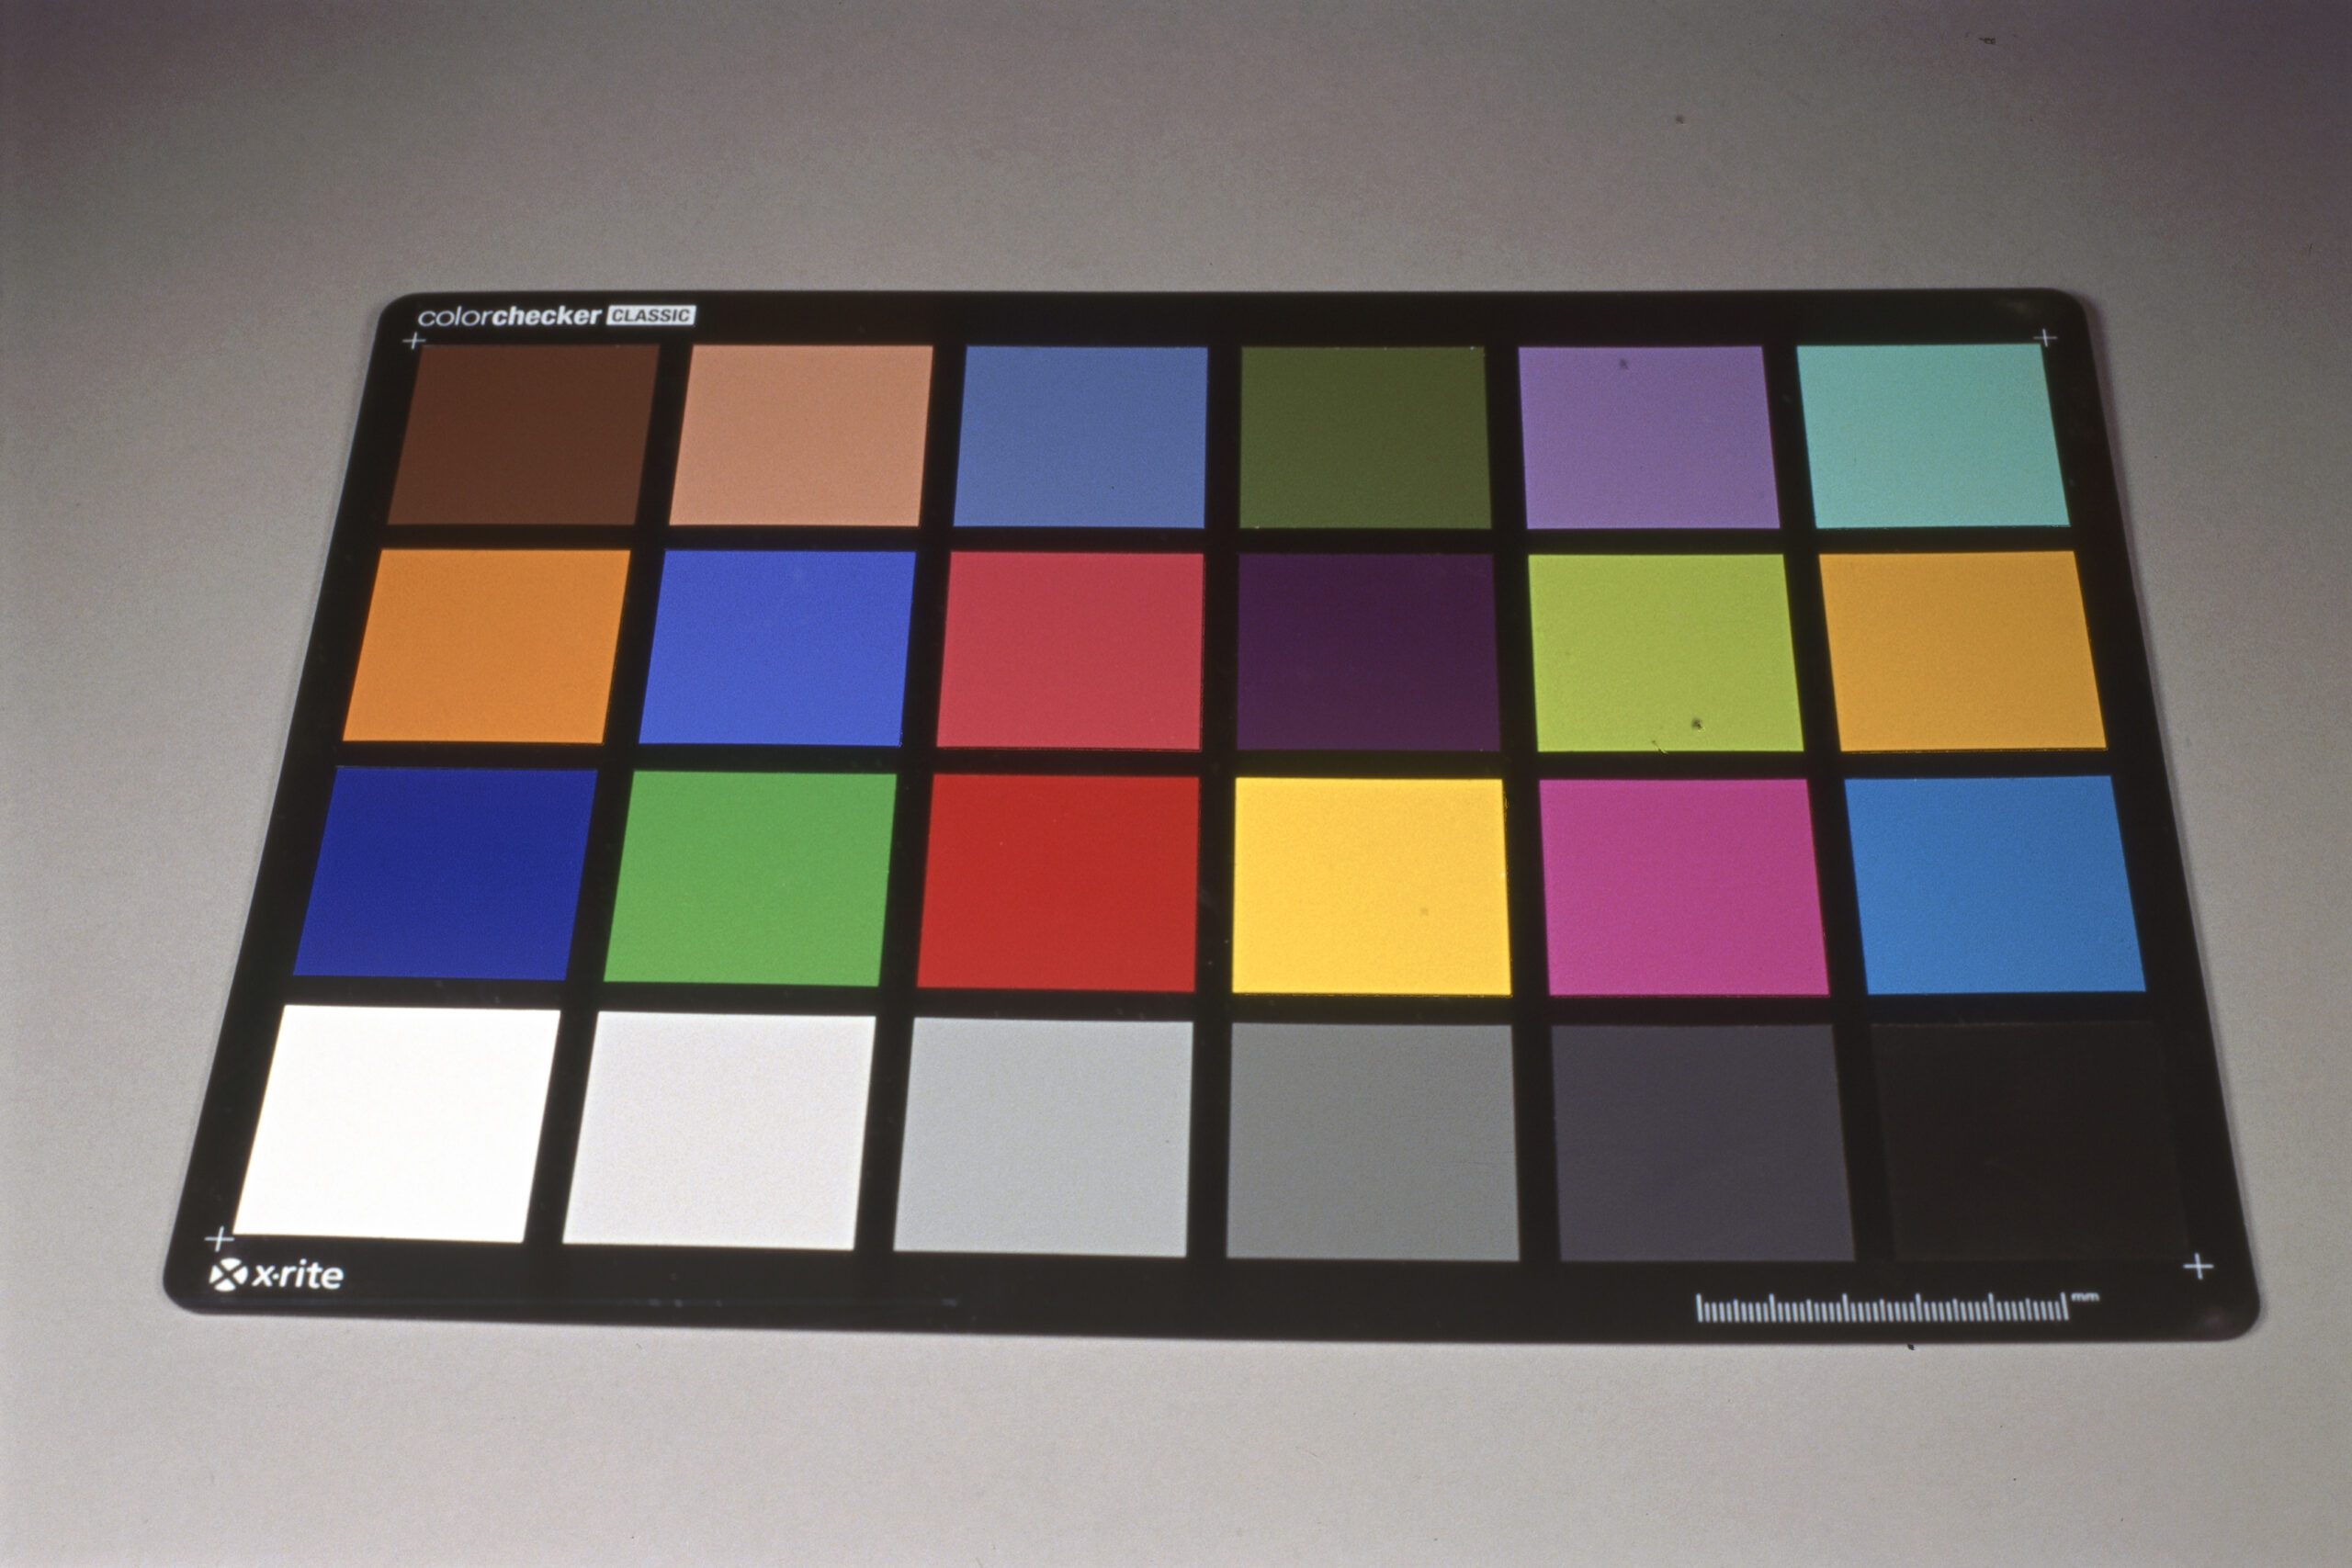
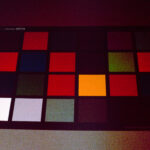
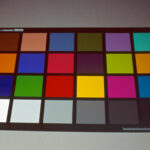
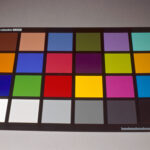
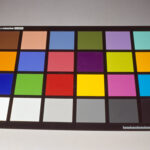
Here’s a flatbed scan of the PrintFile sleeves of the film I shot. So it’s not the sharpest but the goal here was to just compare the color swatches to my X-Rite Color Chart. The exposures go left to right and down and are as follows:
- 1: No filter
- 2: Hoya K2 Yellow
- 3: Tiffen Yel 15 (more of an orange)
- 4: Tiffen Red 25
- 5: Hoya X0 (light green)
- 6: Hoya X1 (green)
- 7: K2 without any exposure compensation (so same shutter speed as shot 1)
- 8: G0 without any exposure compensation (so same shutter speed as shot 1)
- 9: Pretty sure I messed up my aperture setting on this one
- 10: X0 with +2 exposure, though also messed up my aperture
- 11: X1 with +3 exposure
- 12: X0 with +2 exposure
I developed this roll in Zone Imaging’s 510-Pyro (which by the way we do carry on the store!) at 1:100 for 12:30 with 404ml working solution in my DIY rotary. I don’t think that plays a huge role here but 510 is likely the developer I will be using to develop most of my black and white films from the trip.
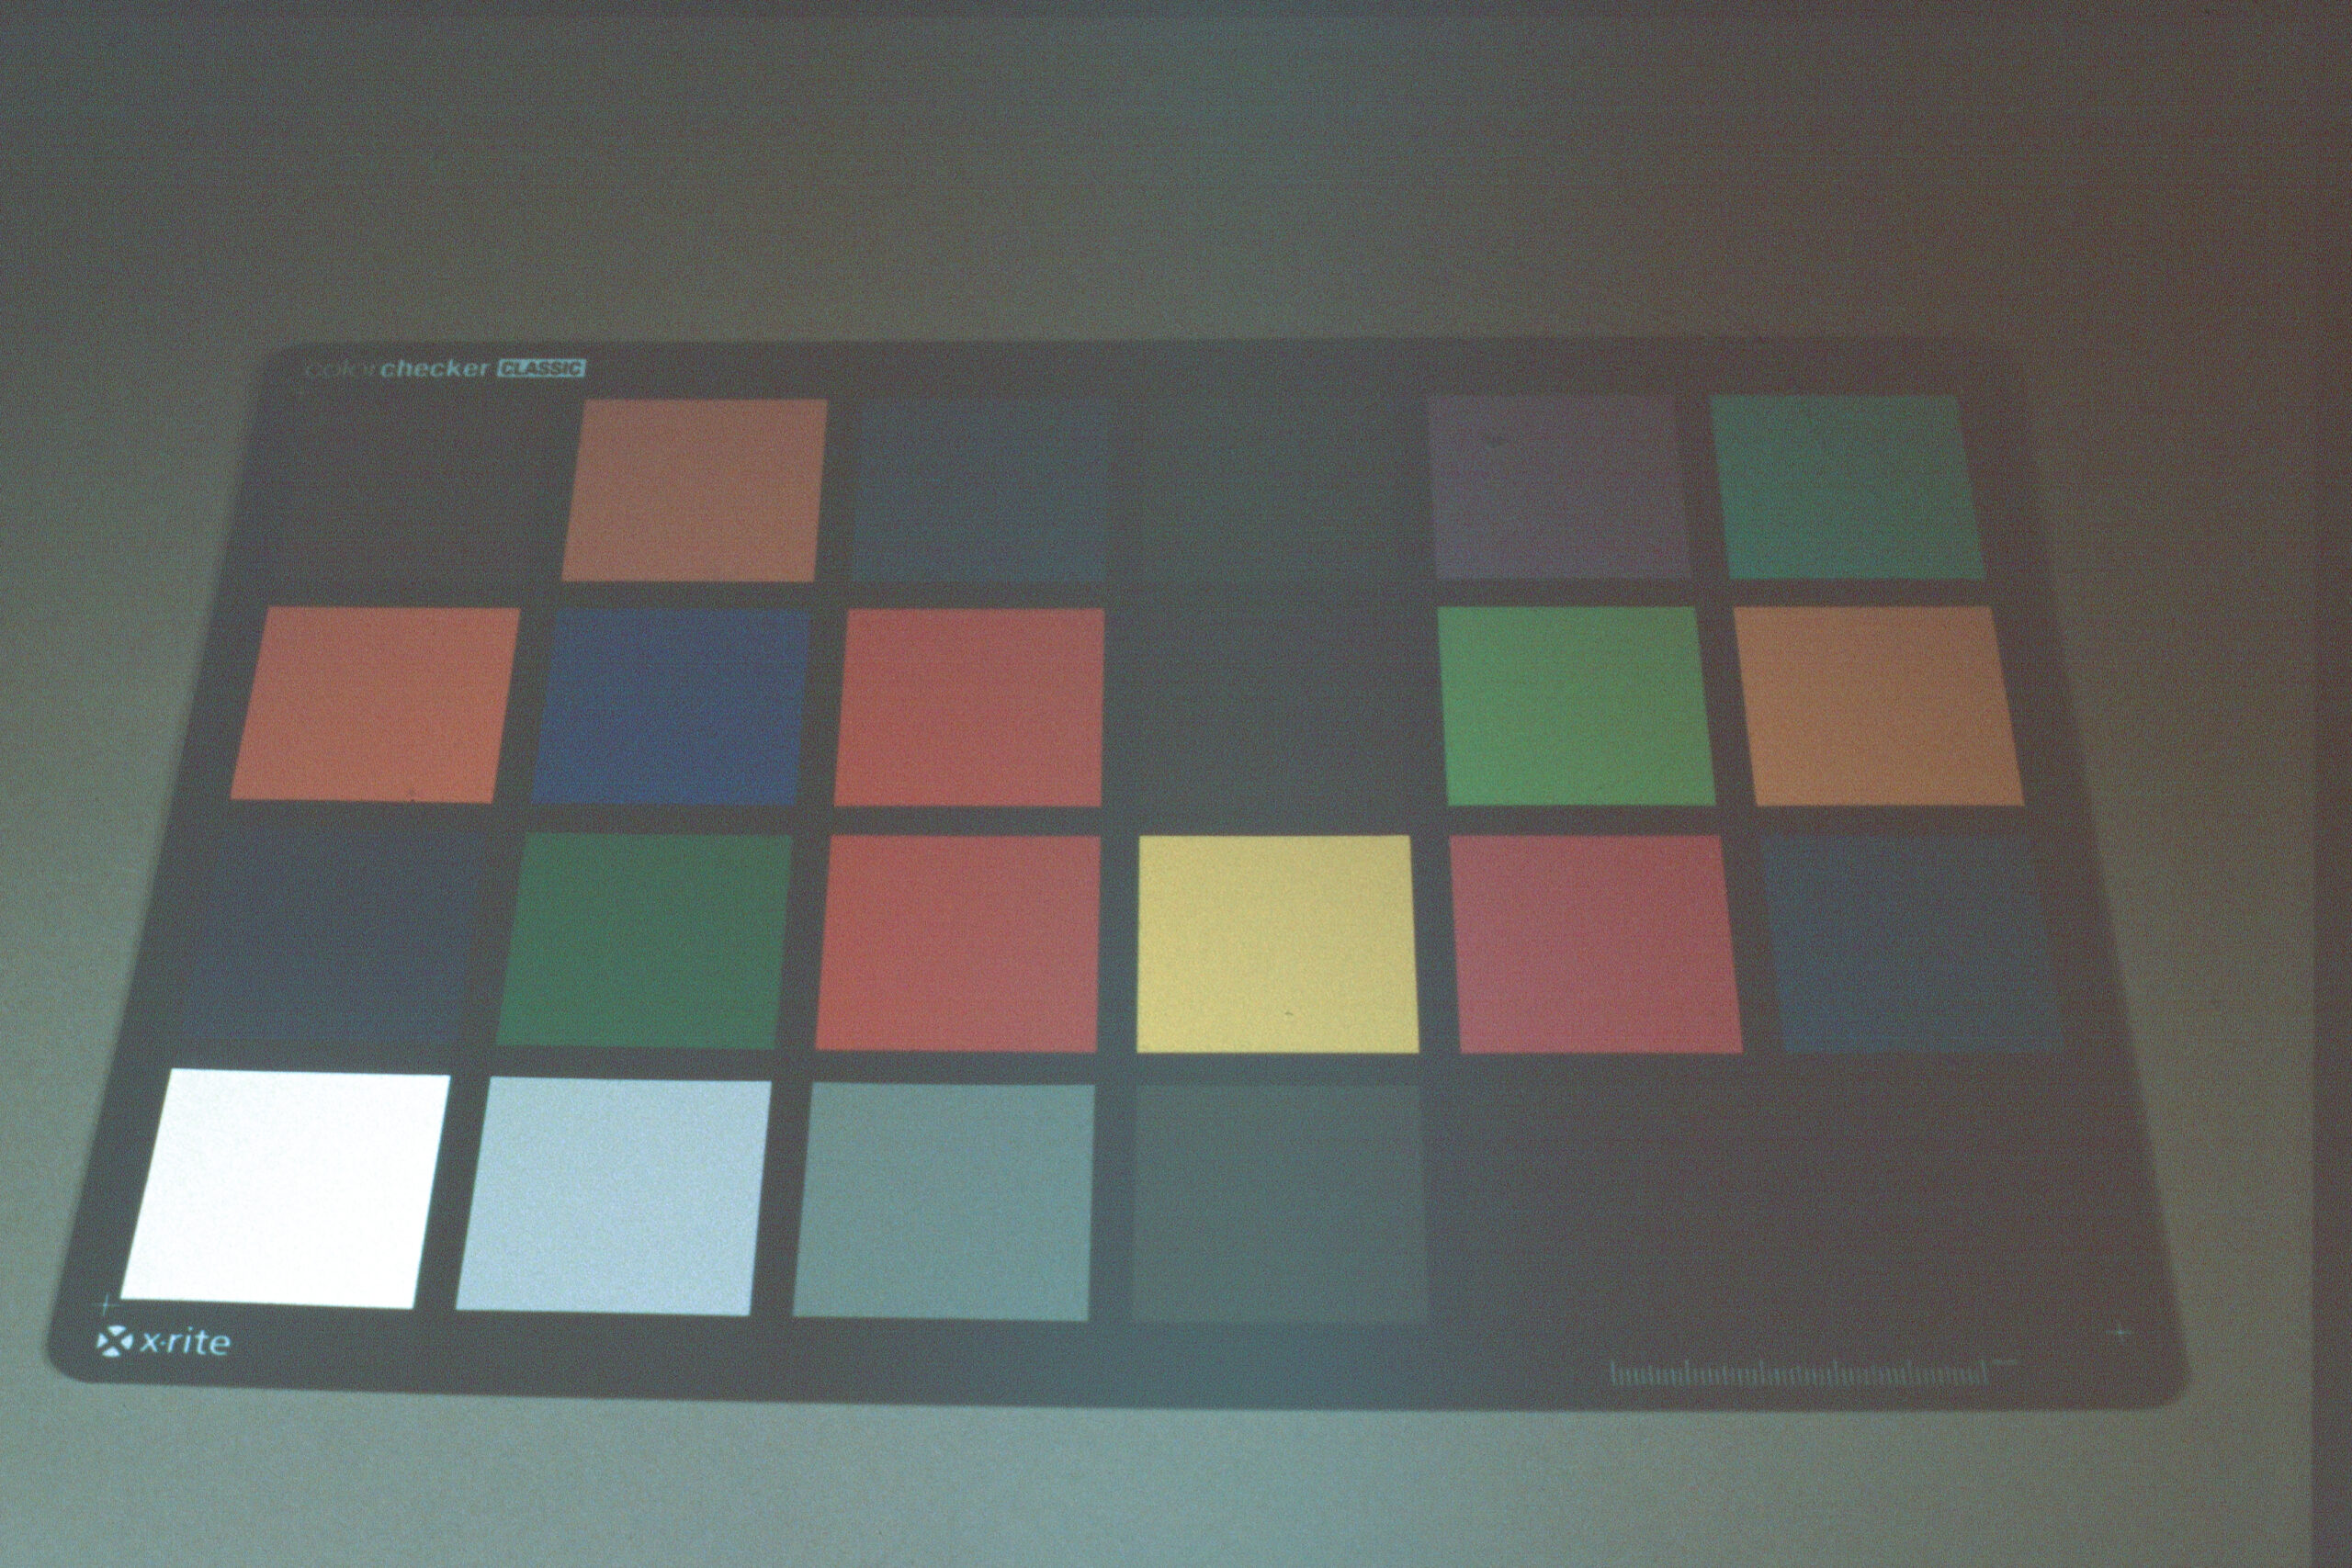
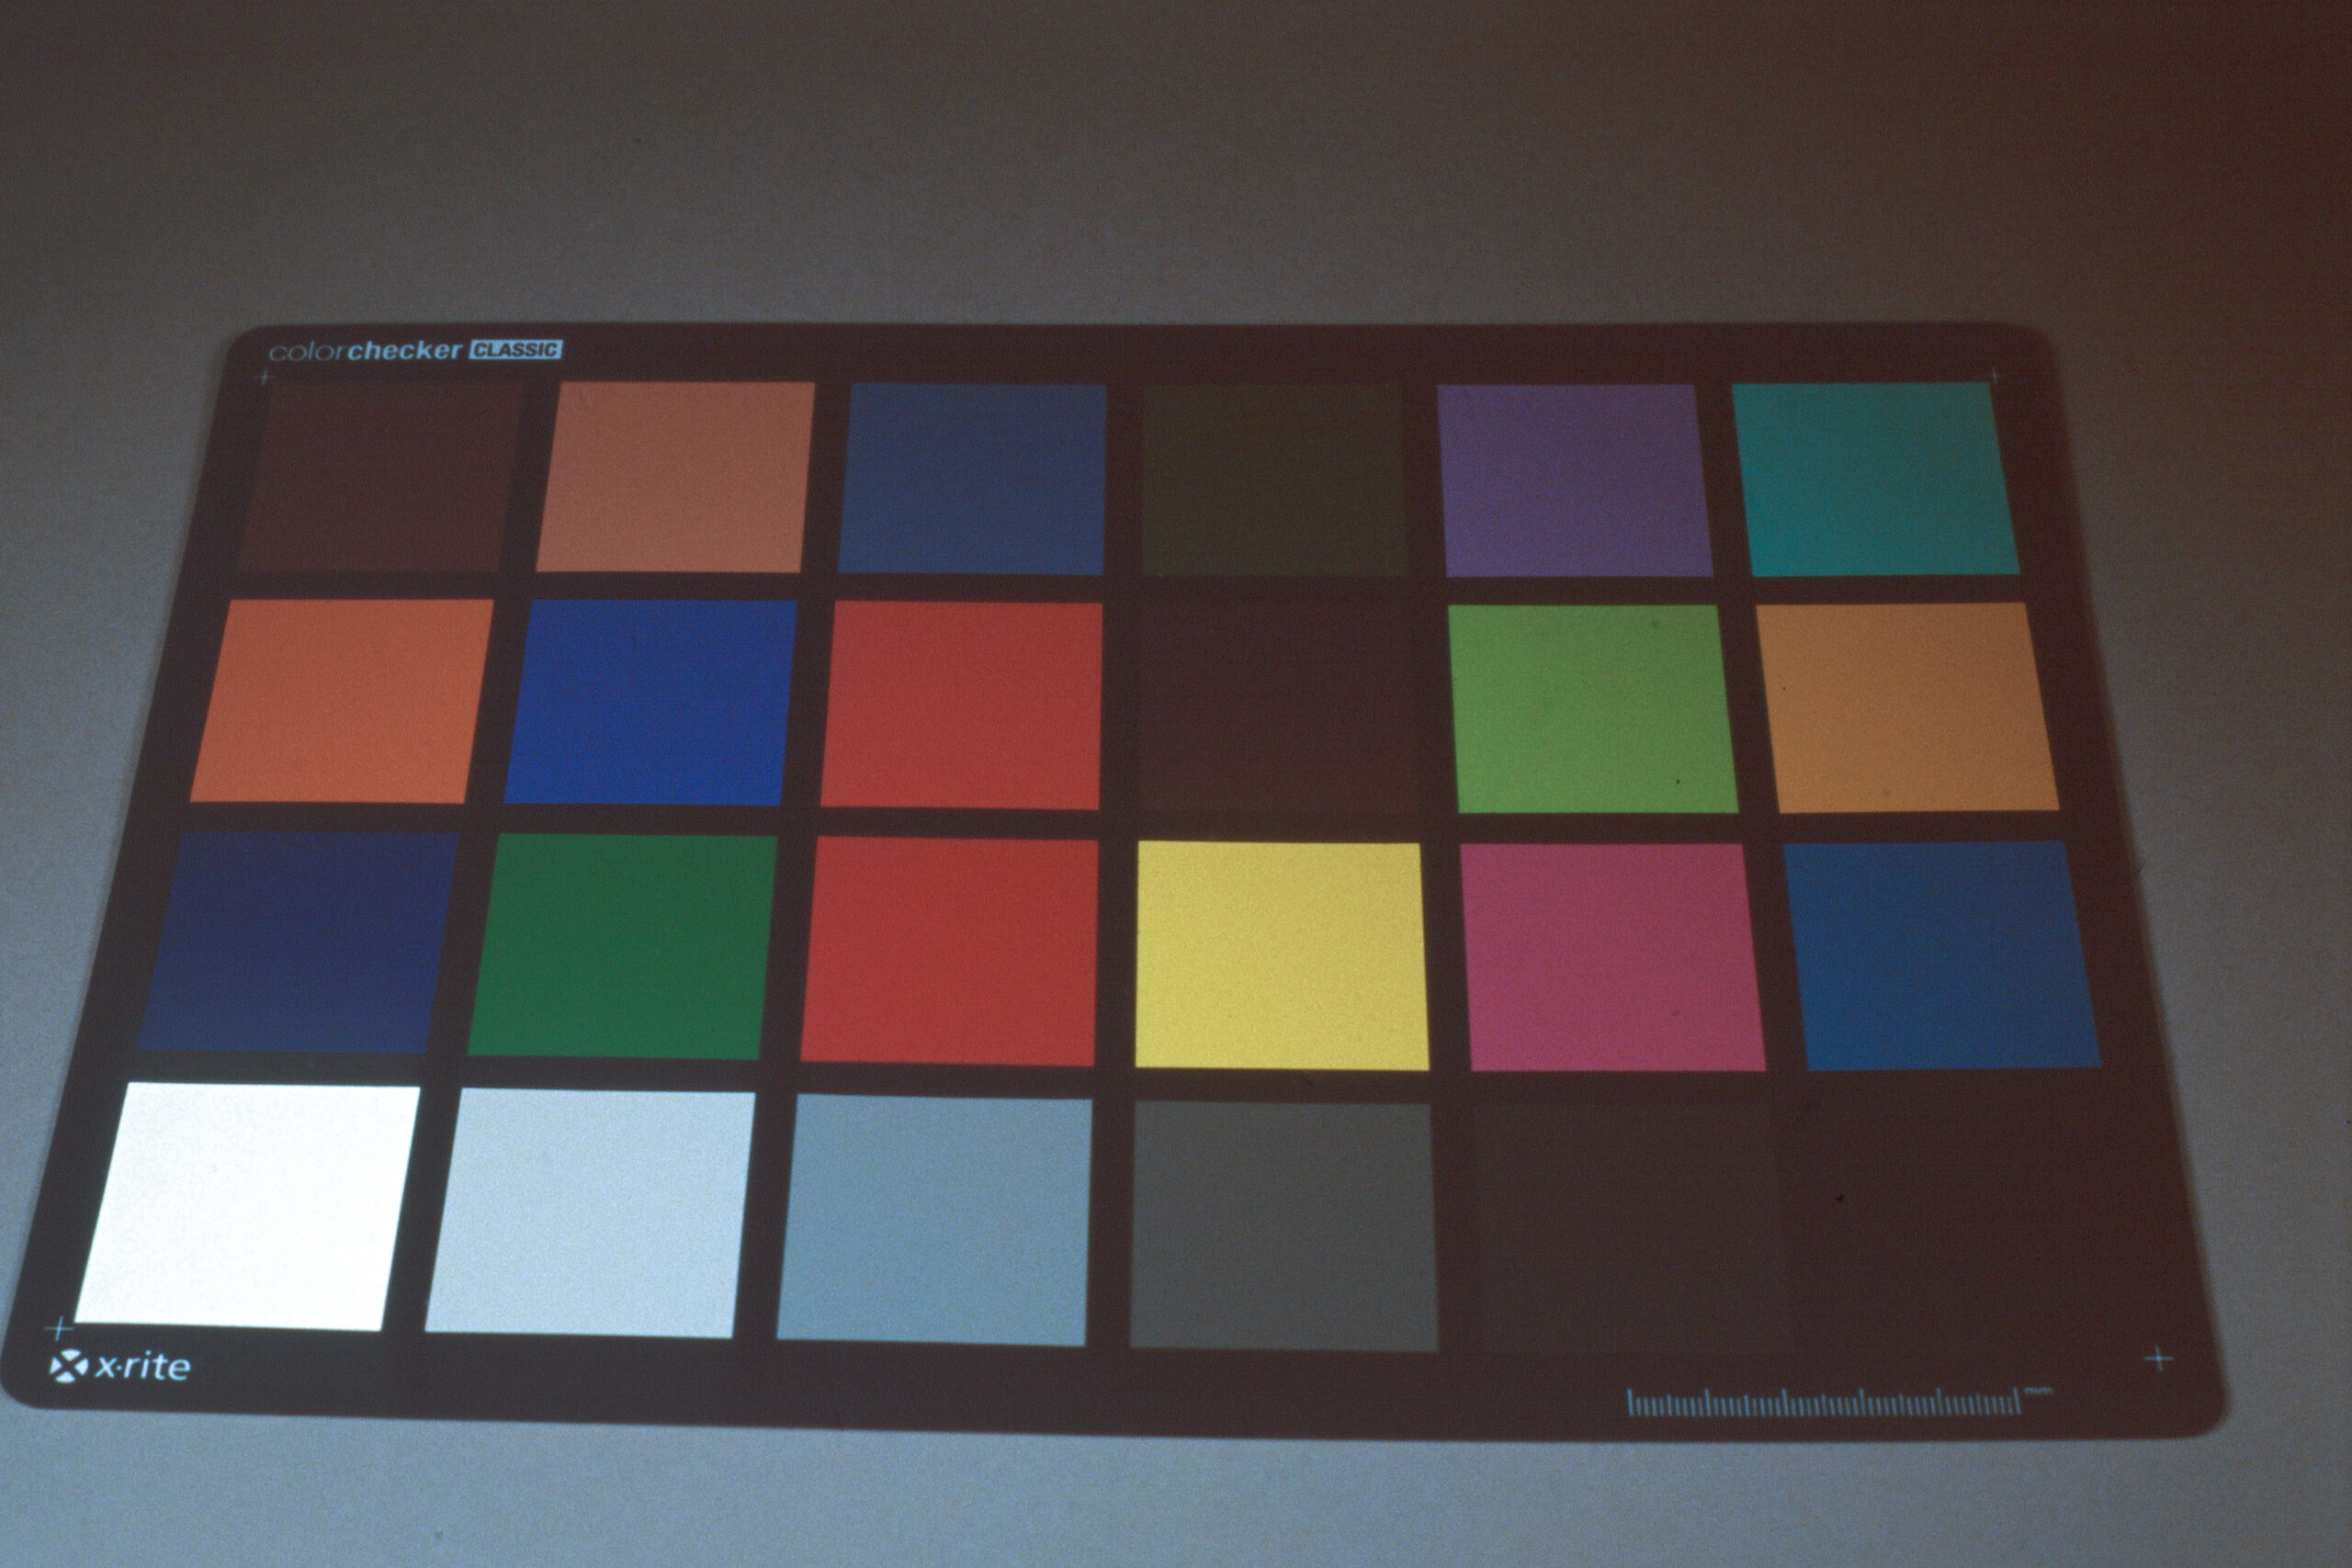
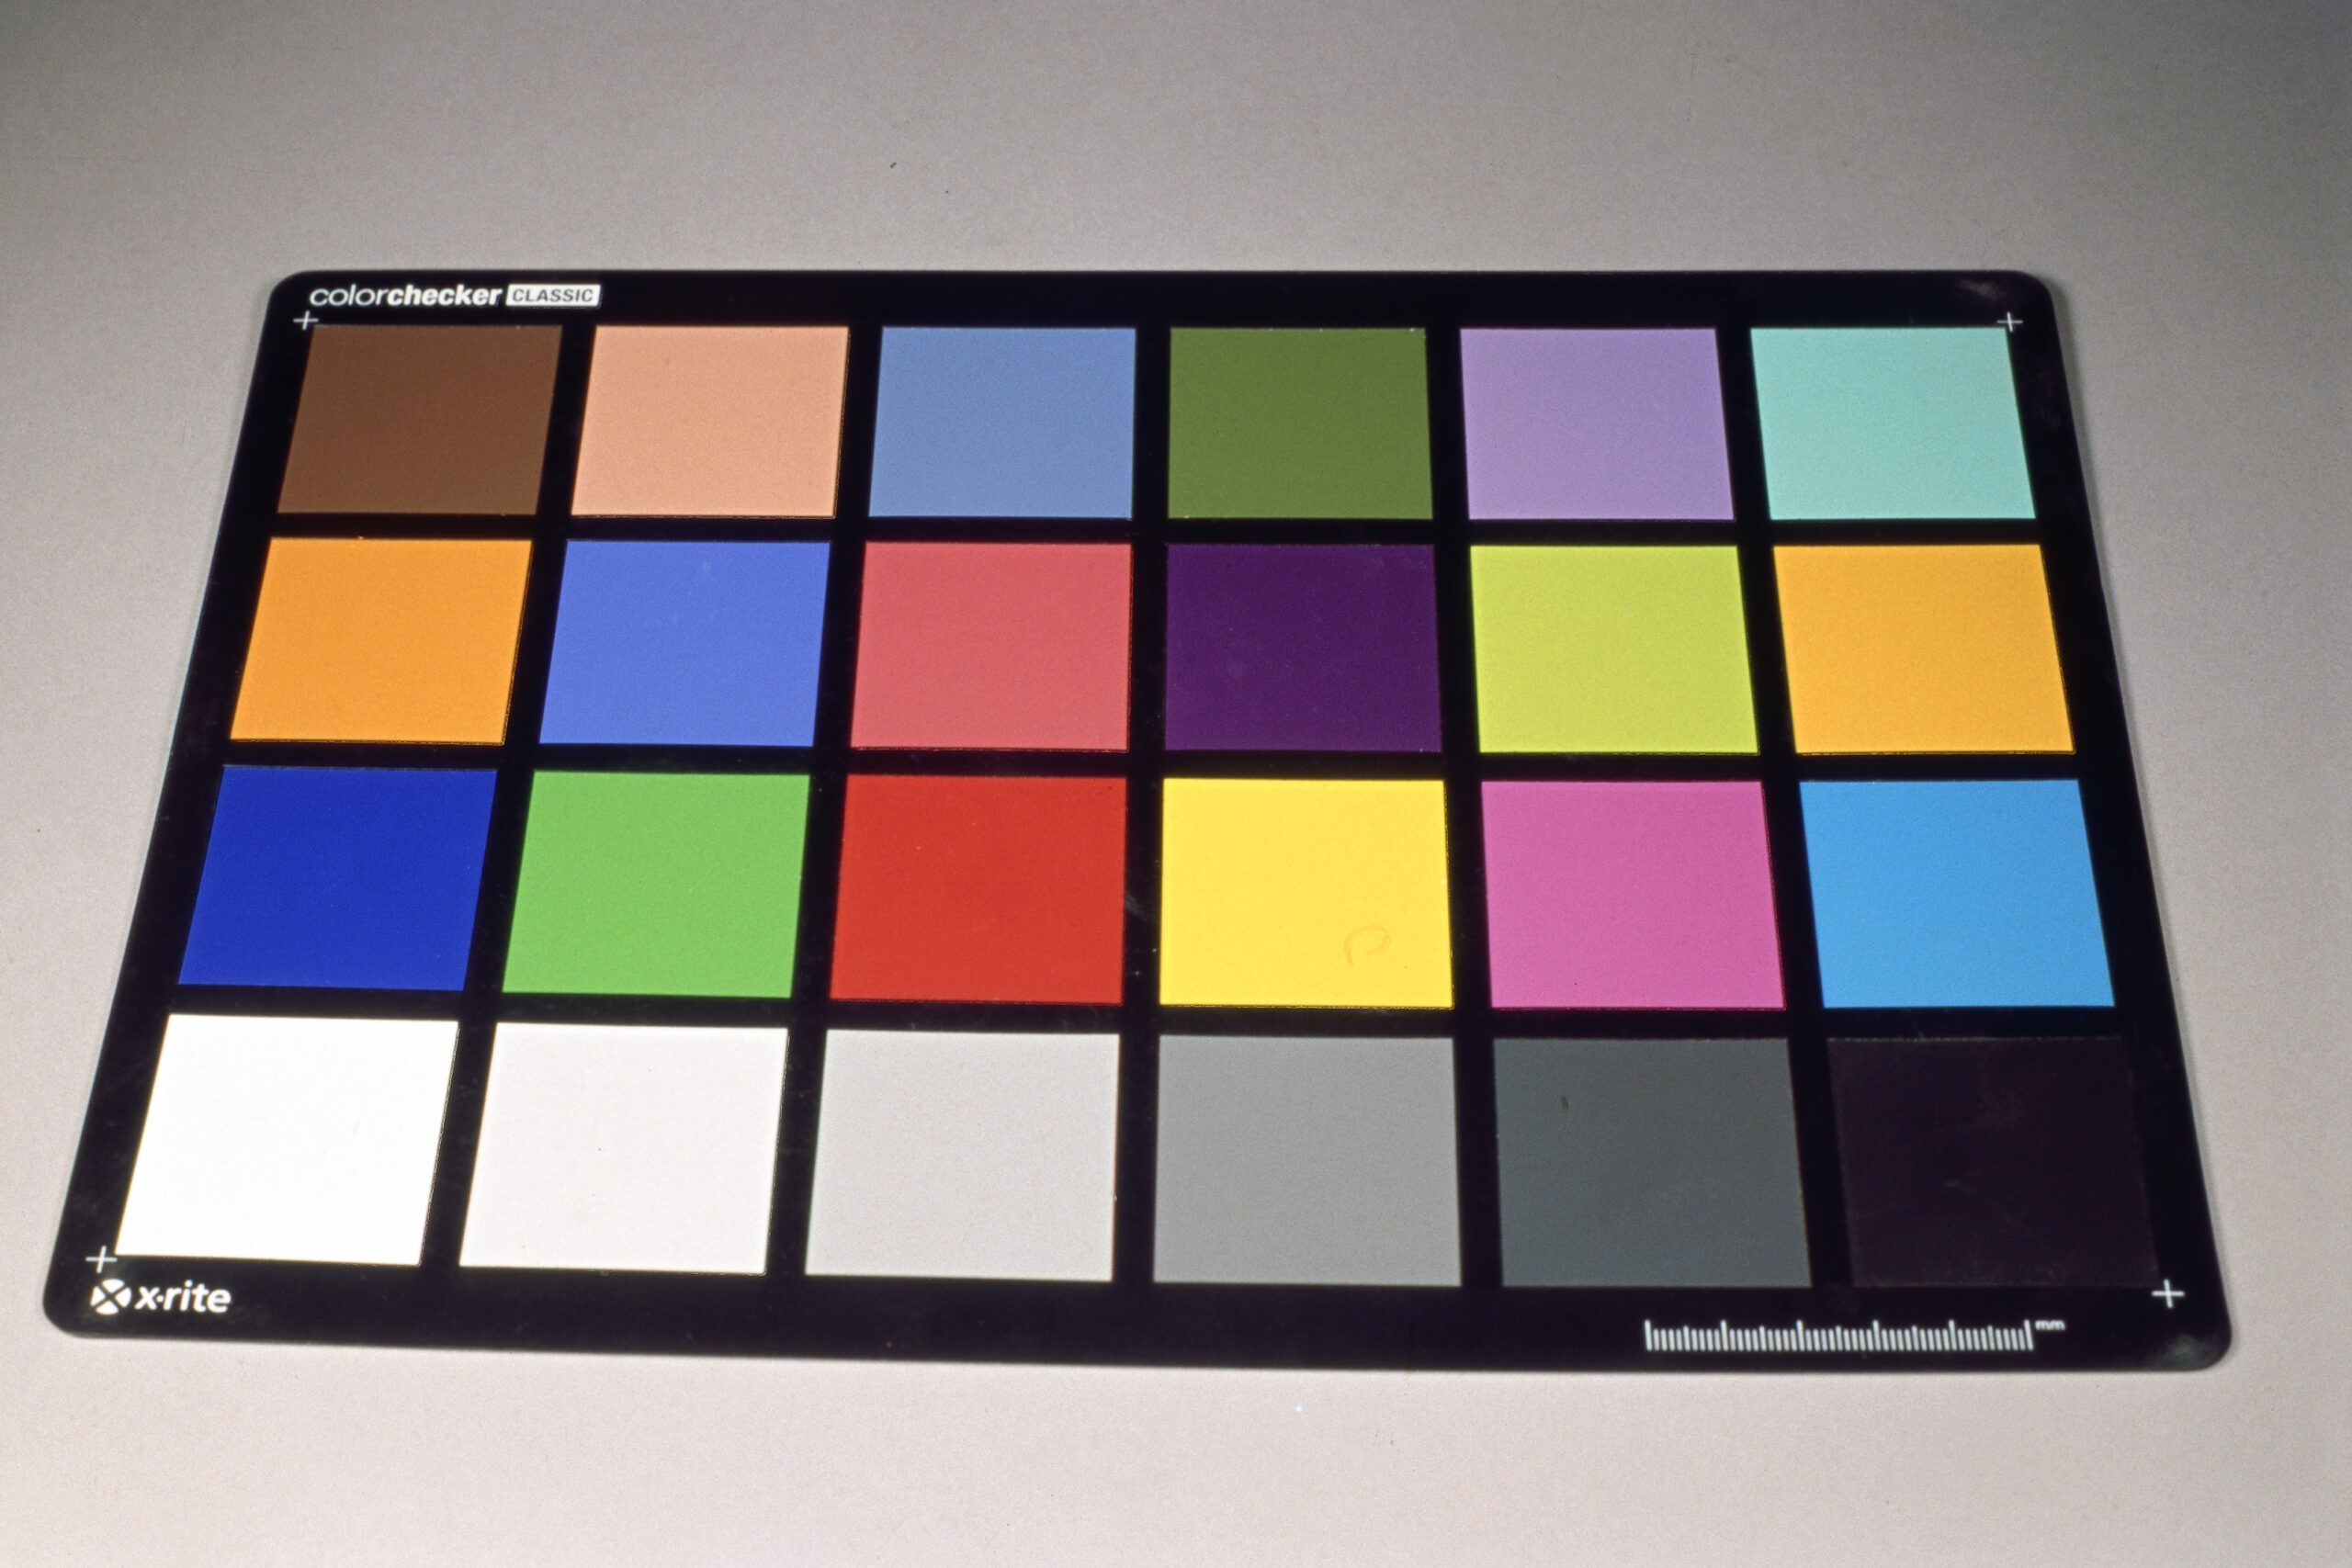
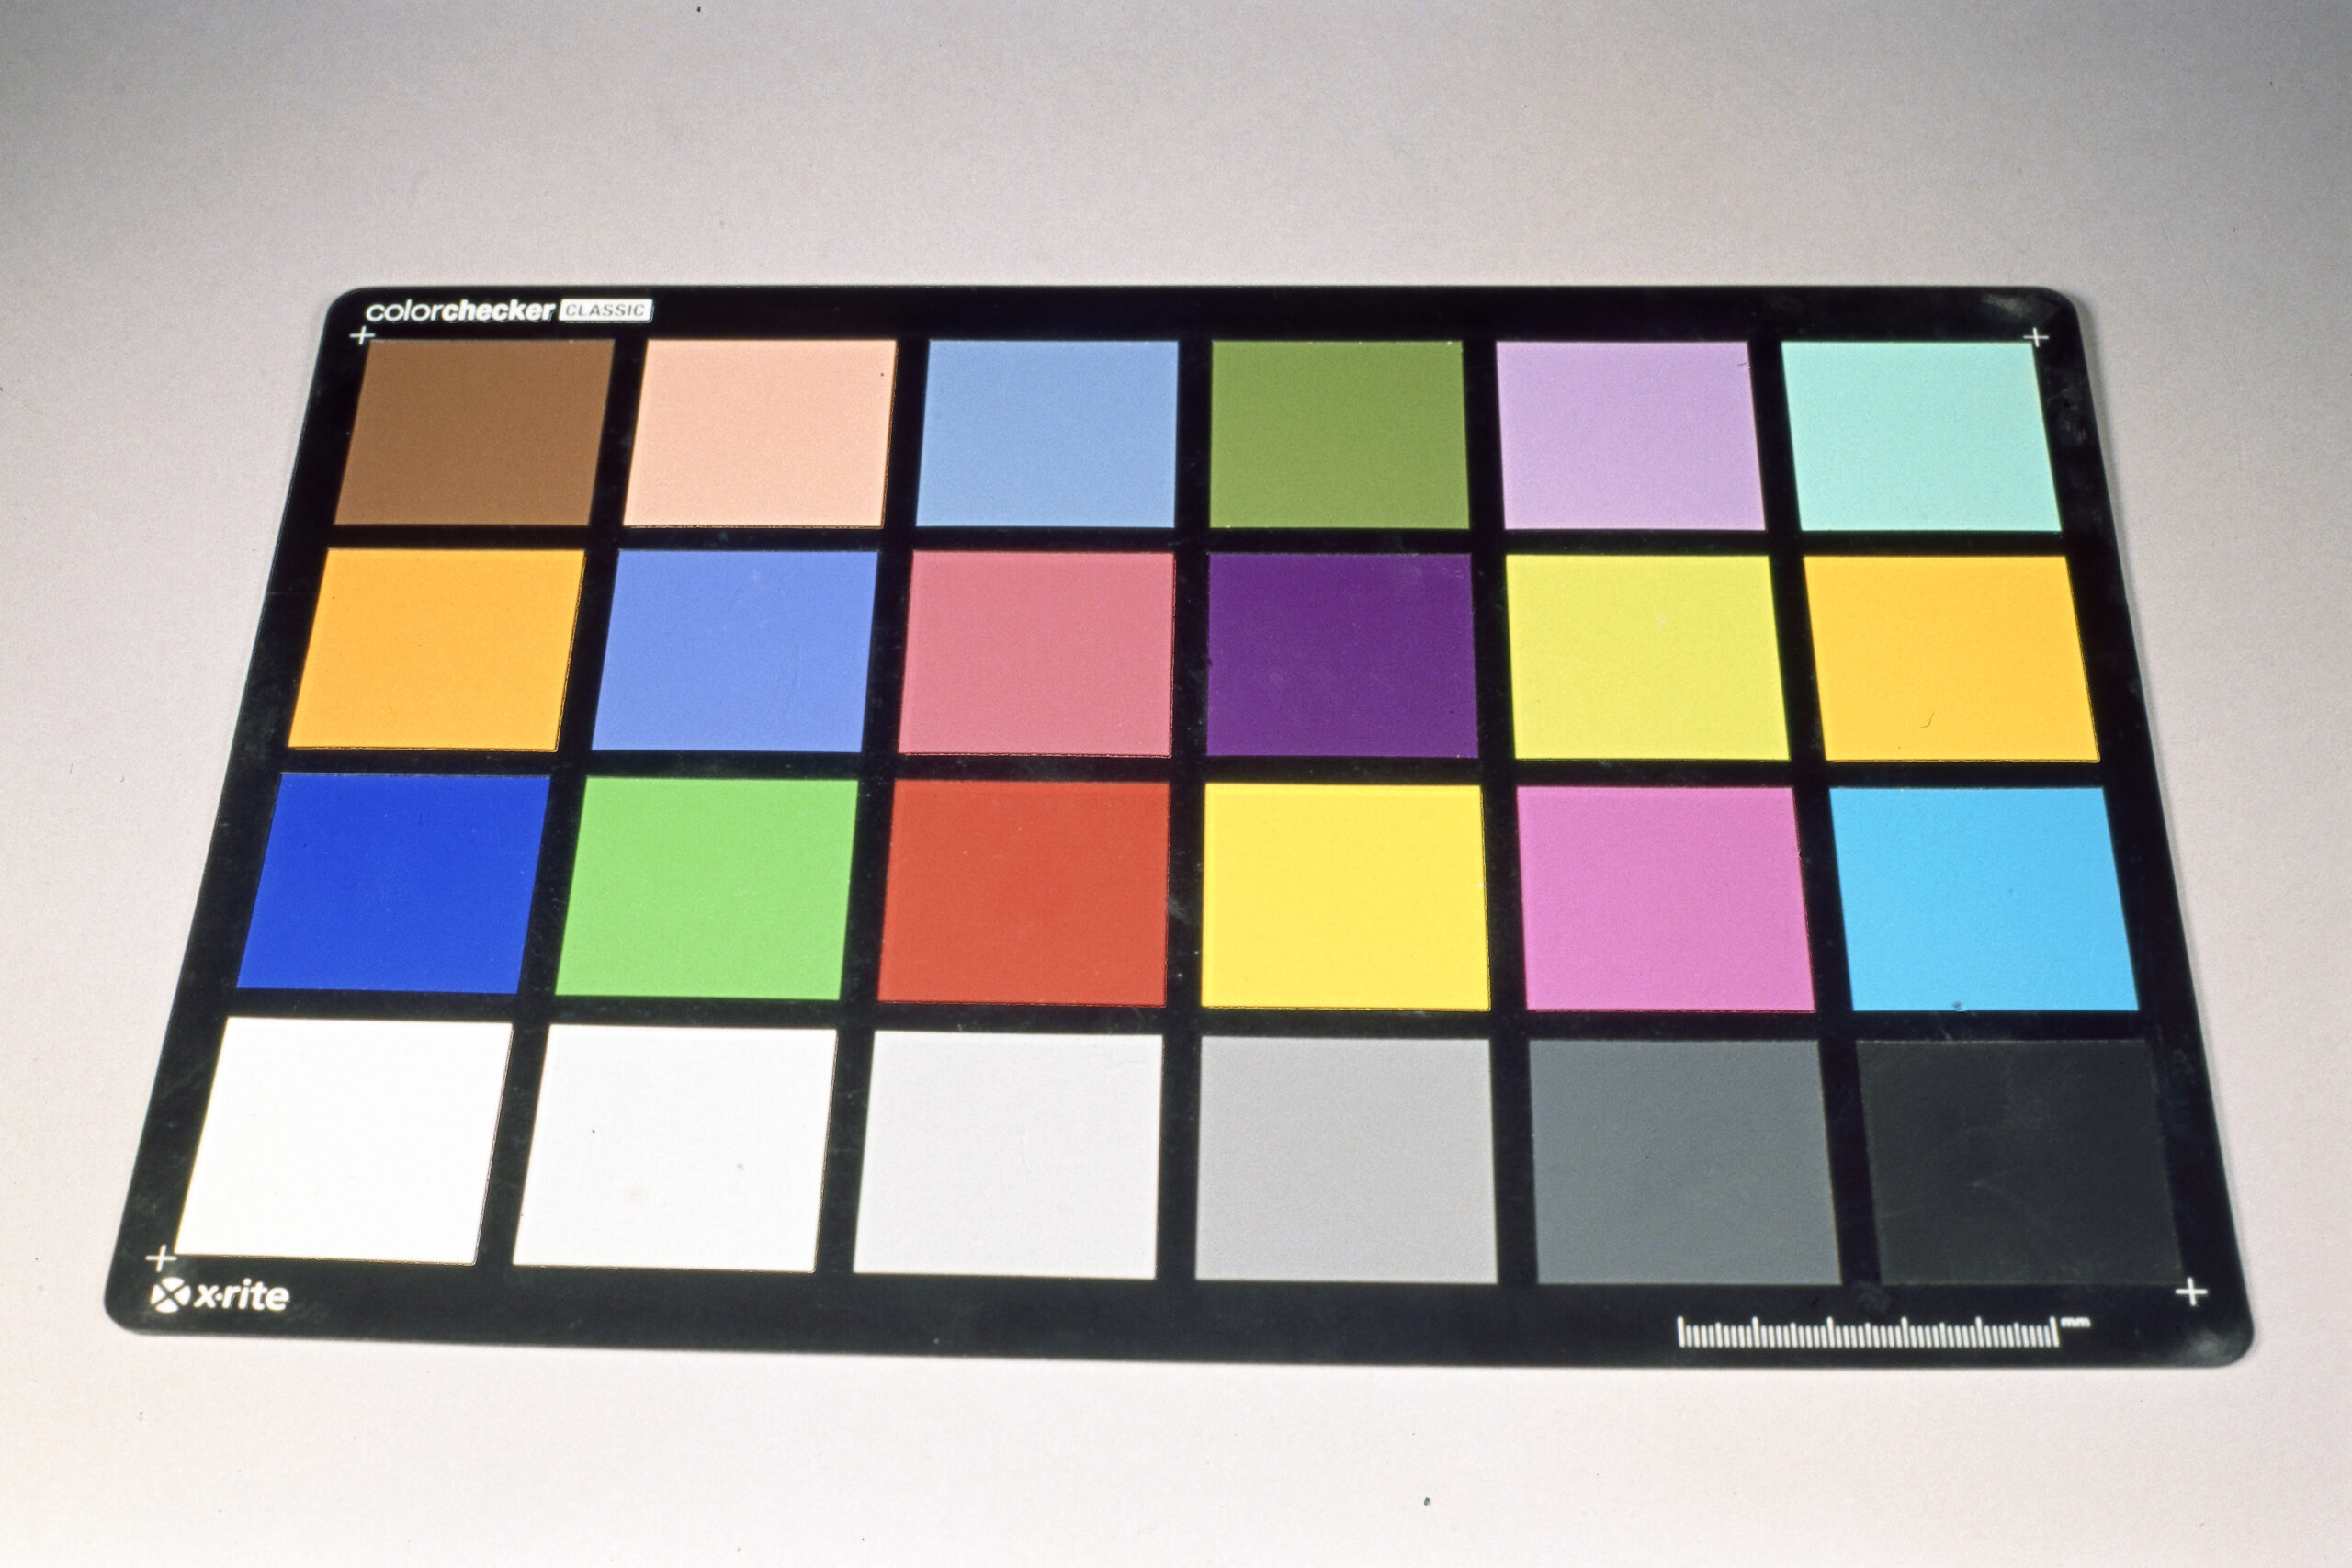
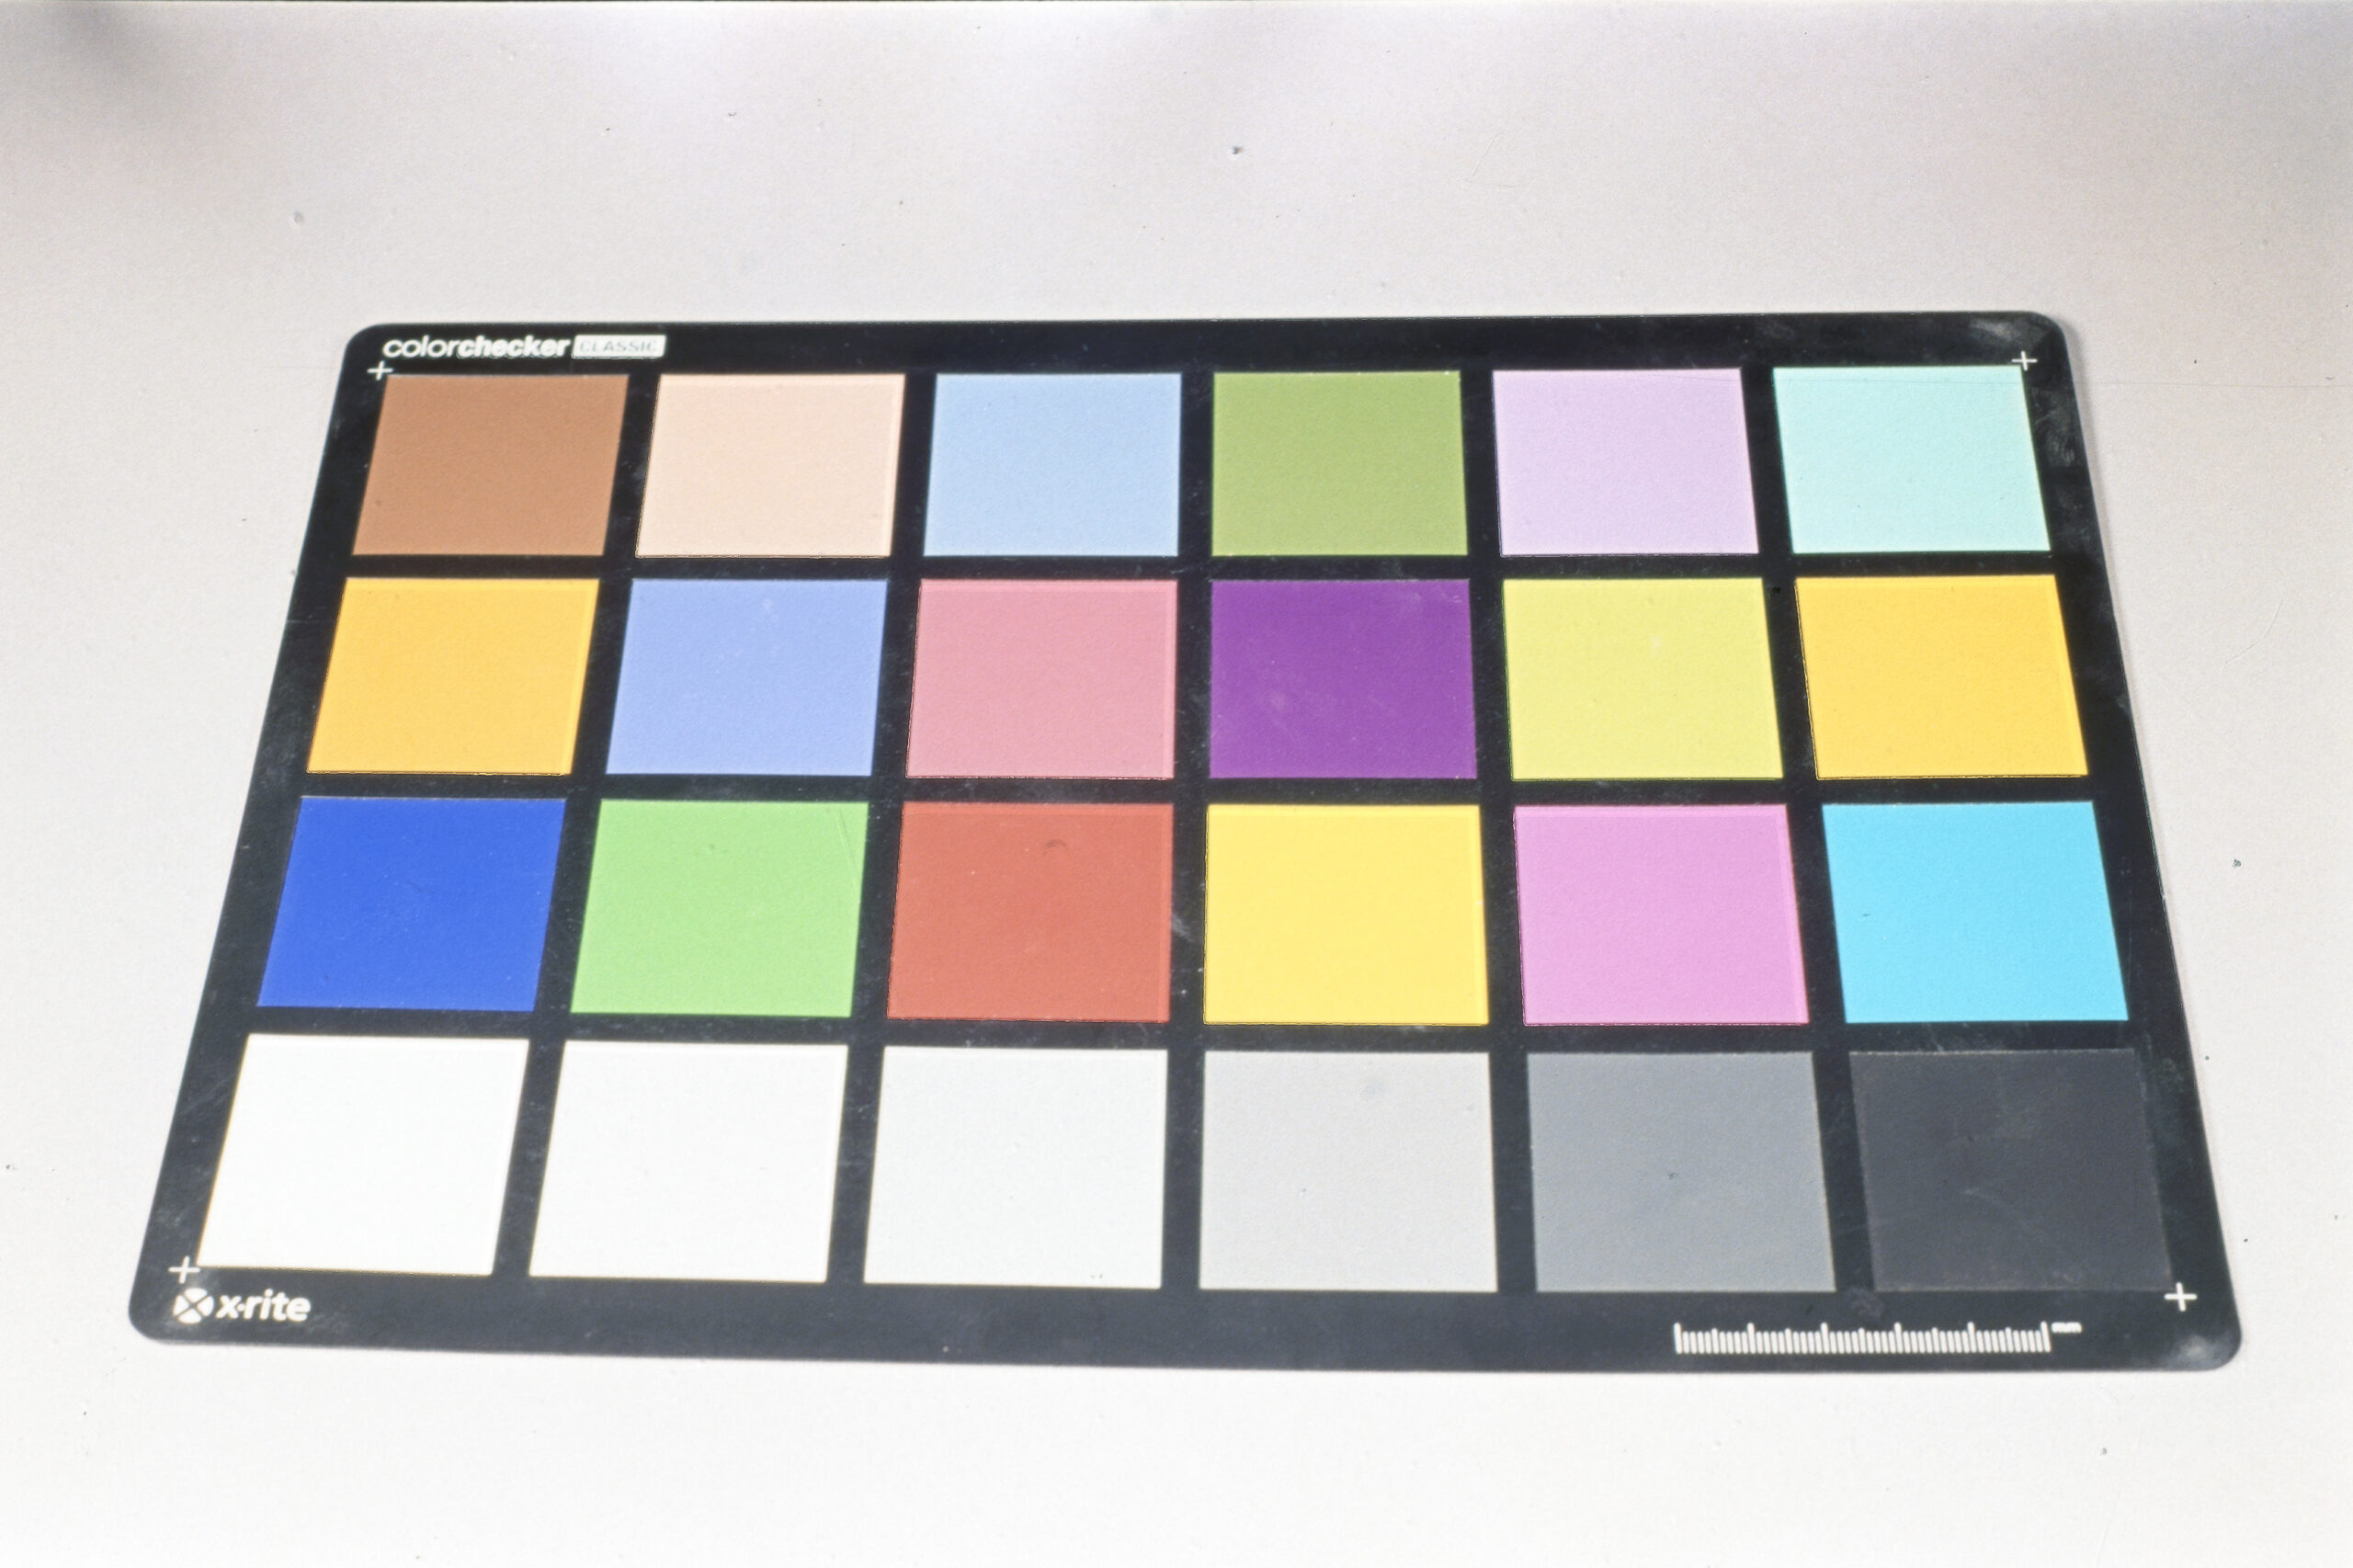
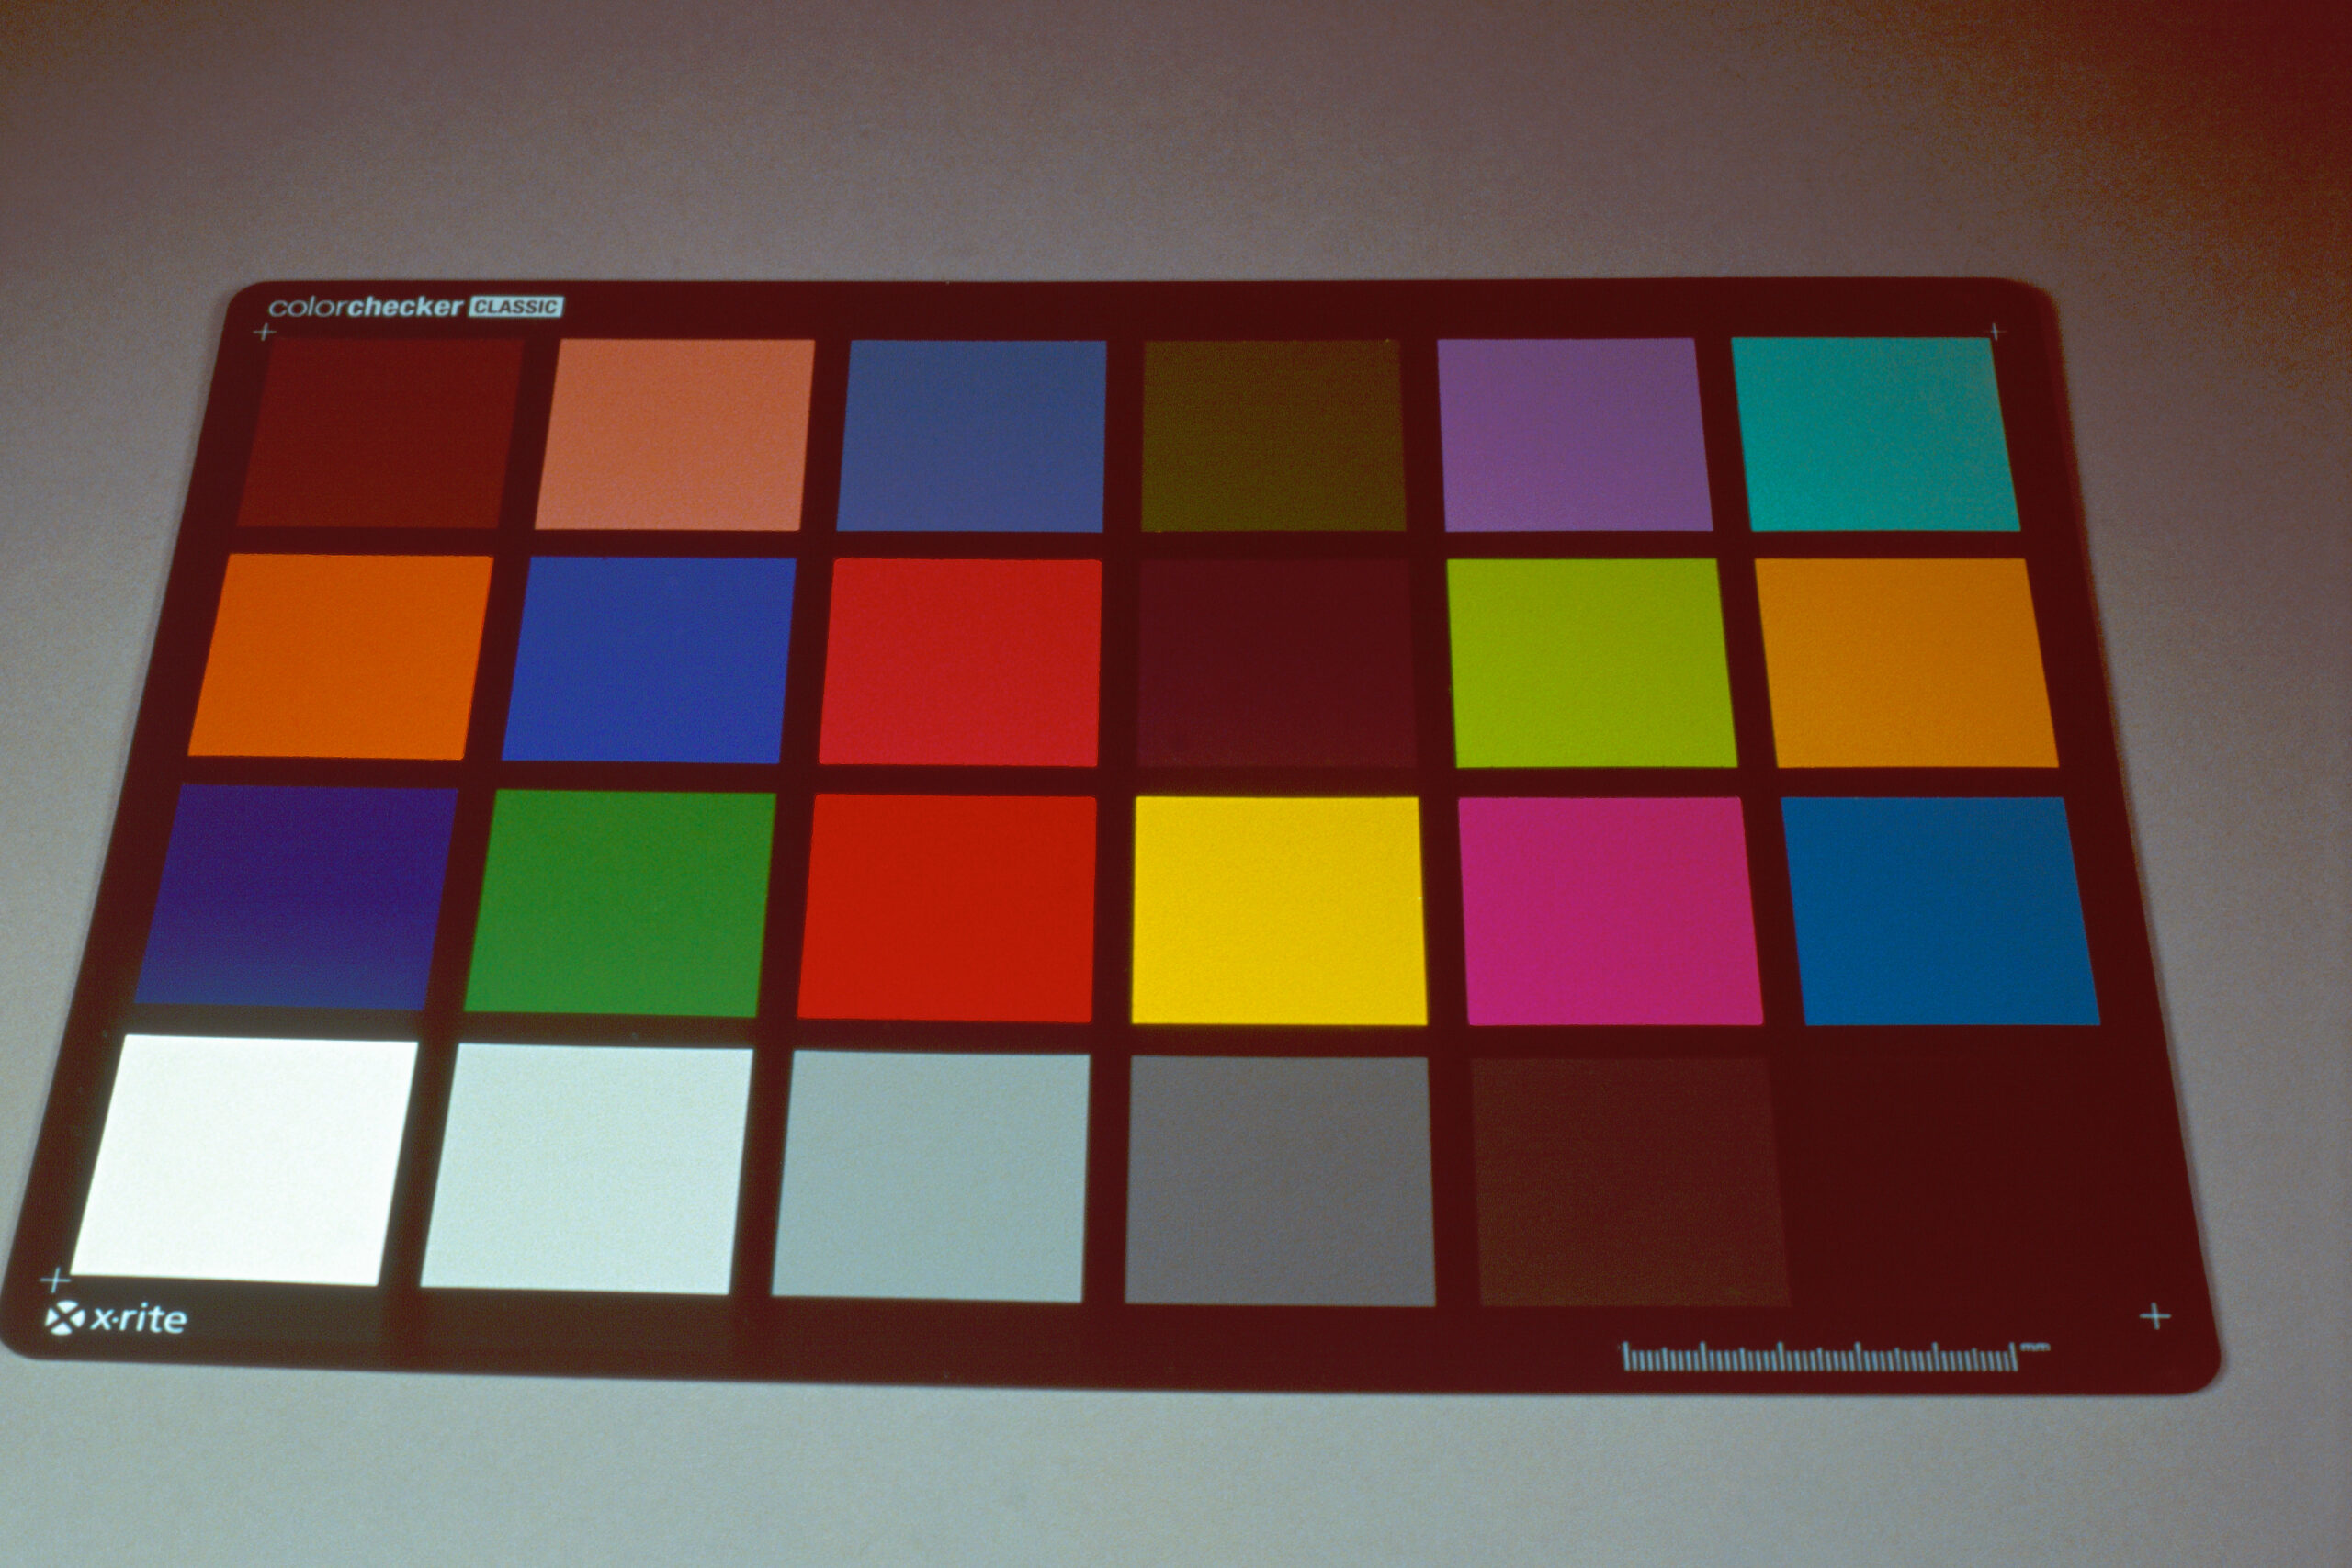
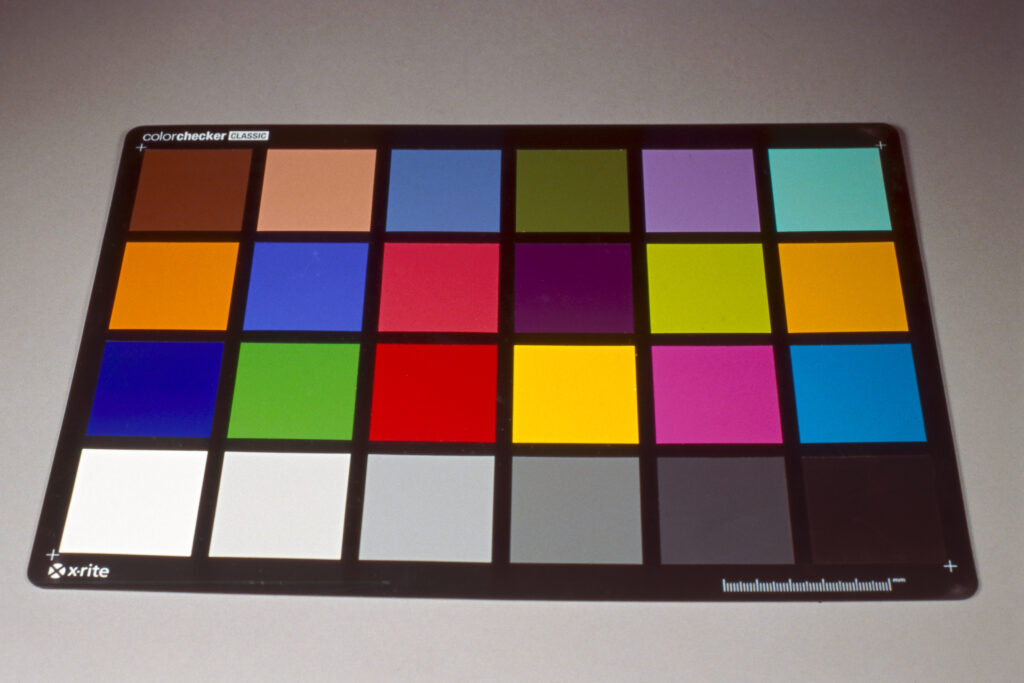
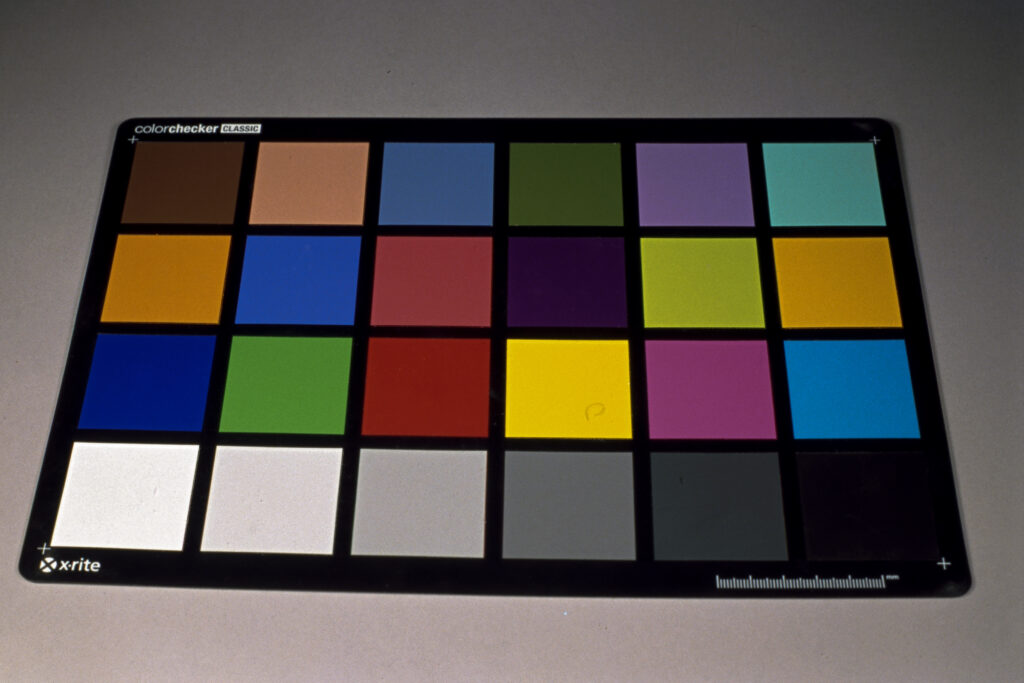
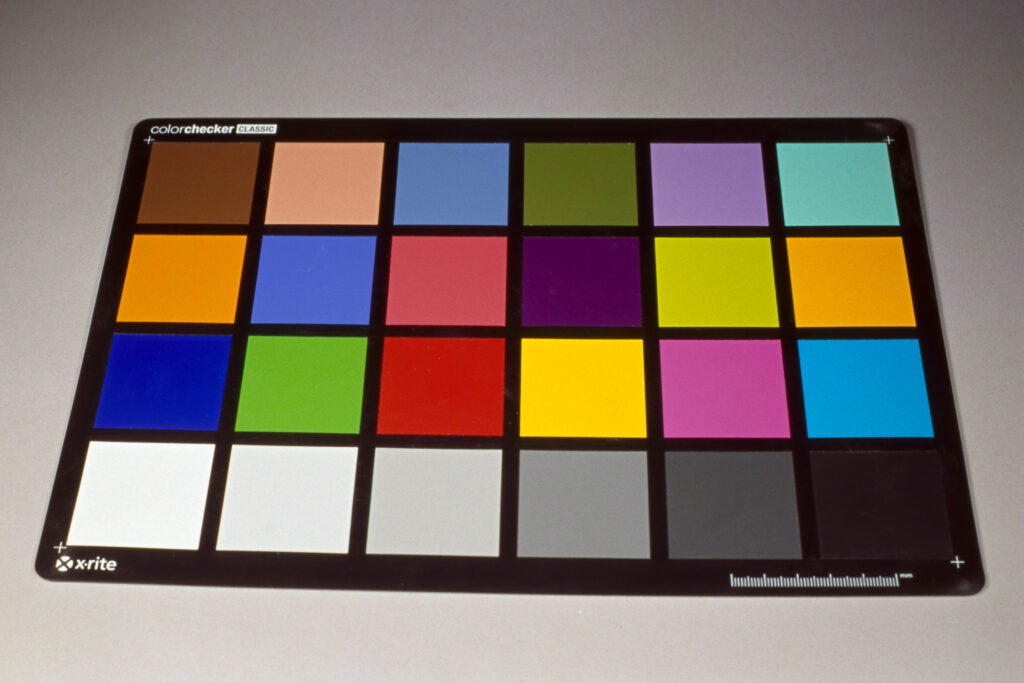
As an aside, Mrs. BitByBit Photo gives me a hard time to this day about how much that color chart cost for what amounts to color dyes on plastic. But nonetheless, it gives a good sampling of lots of colors I might see in the field. I’ll admit though a color chart won’t necessarily tell the whole story. Either way, here is what it actually looks like (taken from my phone):
So far my initial conclusions are that the X0 and X1 seem fairly similar to the yellow filters though are less steep on the light blue shades. I expected a bit bigger of a difference, and that may be the case with other films perhaps. I was surprised to see how much of a difference there was with the K2 filter. I often see TMX mentioned as having a “built-in yellow filter” and while I actually also tend to agree, it’s probably very mild or at least shows that the K2 still has a noticeable effect compared to no filter. This was actually the main reason I decided to do this test and I’m glad I did as that was somewhat unexpected.
From an exposure compensation perspective, I think the exposure compensation provided by Hoya and Tiffen is pretty spot on. Noting I used whole stops here and rounded to the nearest slower shutter speed for values in the middle. I do think the Red filter could use a bit more exposure based on the above though. Not by much, but by a little. I used my (recently CLA’d) Hasselblad with 80mm lens for these tests so there could also be some mechanical tolerances going on here, though that’s what I would experience in the field anyway and not something I wanted to worry about here.
I had already planned to bring all these filters and if I have a chance where I feel like I can burn some film on a particular scene, I might re-run these tests out in the field with a real subject just to see what comes of it. All told, part of the reason I got the K2 and X0 filters was for being able to double as protection filters, noting the unpredictable weather (including rain and wind) that I may experience while up there.
So there you go! Not particularly scientific but I learned something there and perhaps you did too!